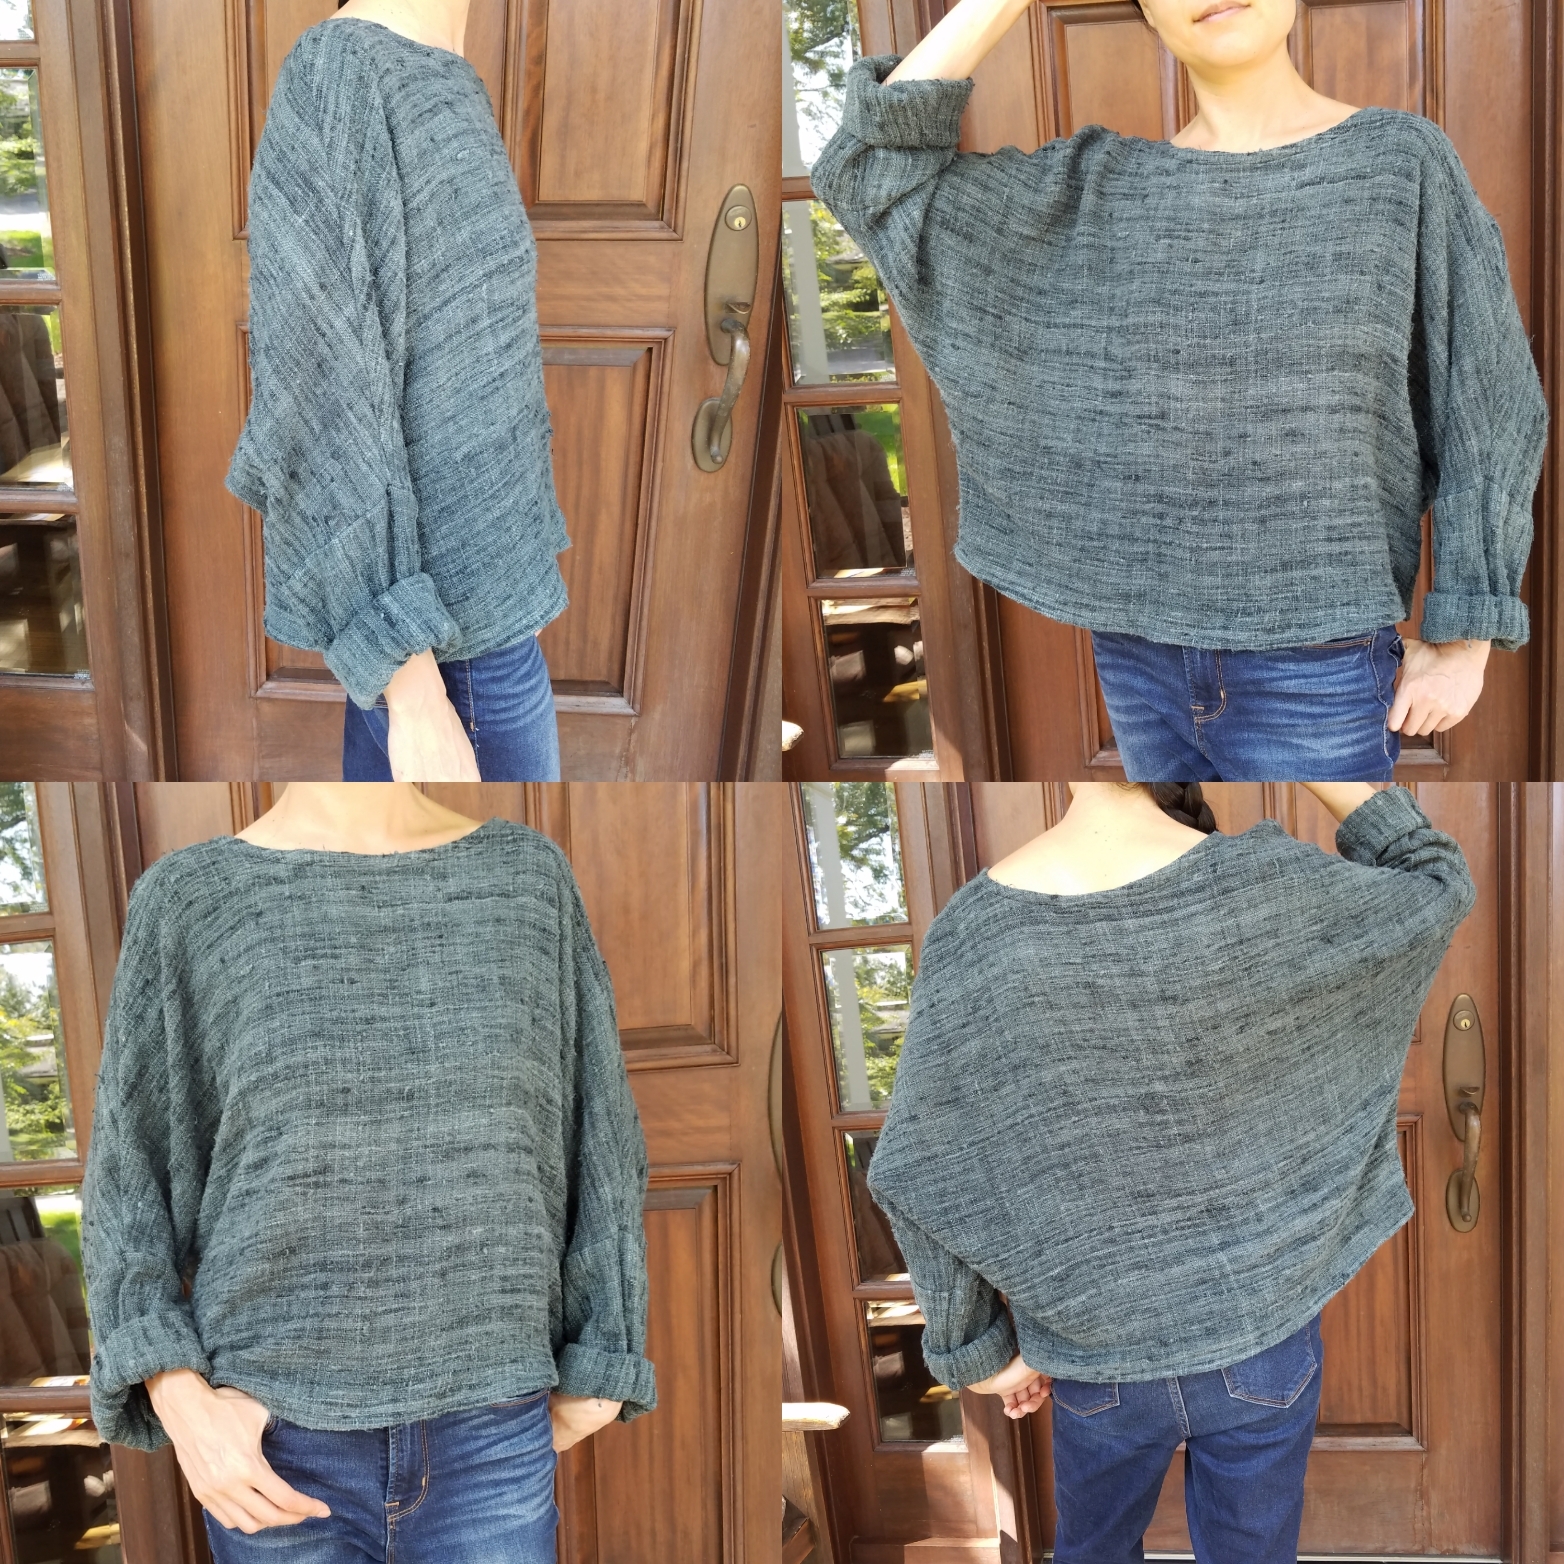
For this tutorial, I’m going to teach you how to sew a top that is somewhat similar to the Jamie and the Jones T sweater. I’ve never owned one of these tops, so none of the measurements are directly from J+J’s design, just the overall idea and aesthetic. [Update – I did end up buying a T Sweater from J+J and I love it. Still, I wrote this tutorial before I owned and it and the instructions below are not based on any measurements taken directly from the J+J sweater.]
I had been eyeballing the T Sweater for a loved the oversized, slouchy, comfortable look. I was considering making a version for myself, but wasn’t sure what fabric to use.
I was wearing my silk matka Emma-like kimono and realized that the rough-woven texture of the silk matka could be perfect to get a similar look. I gave my local fabric store a call, but they were out of the silk matka fabric. I did some research and found this lovely shop, B. Black and Sons, based in California.
After much browsing and consideration, I decided to go with the textured gray color. This was a bit of a risk. The fabric’s not cheap. I ordered 2 yards which, with shipping, totaled to $65.
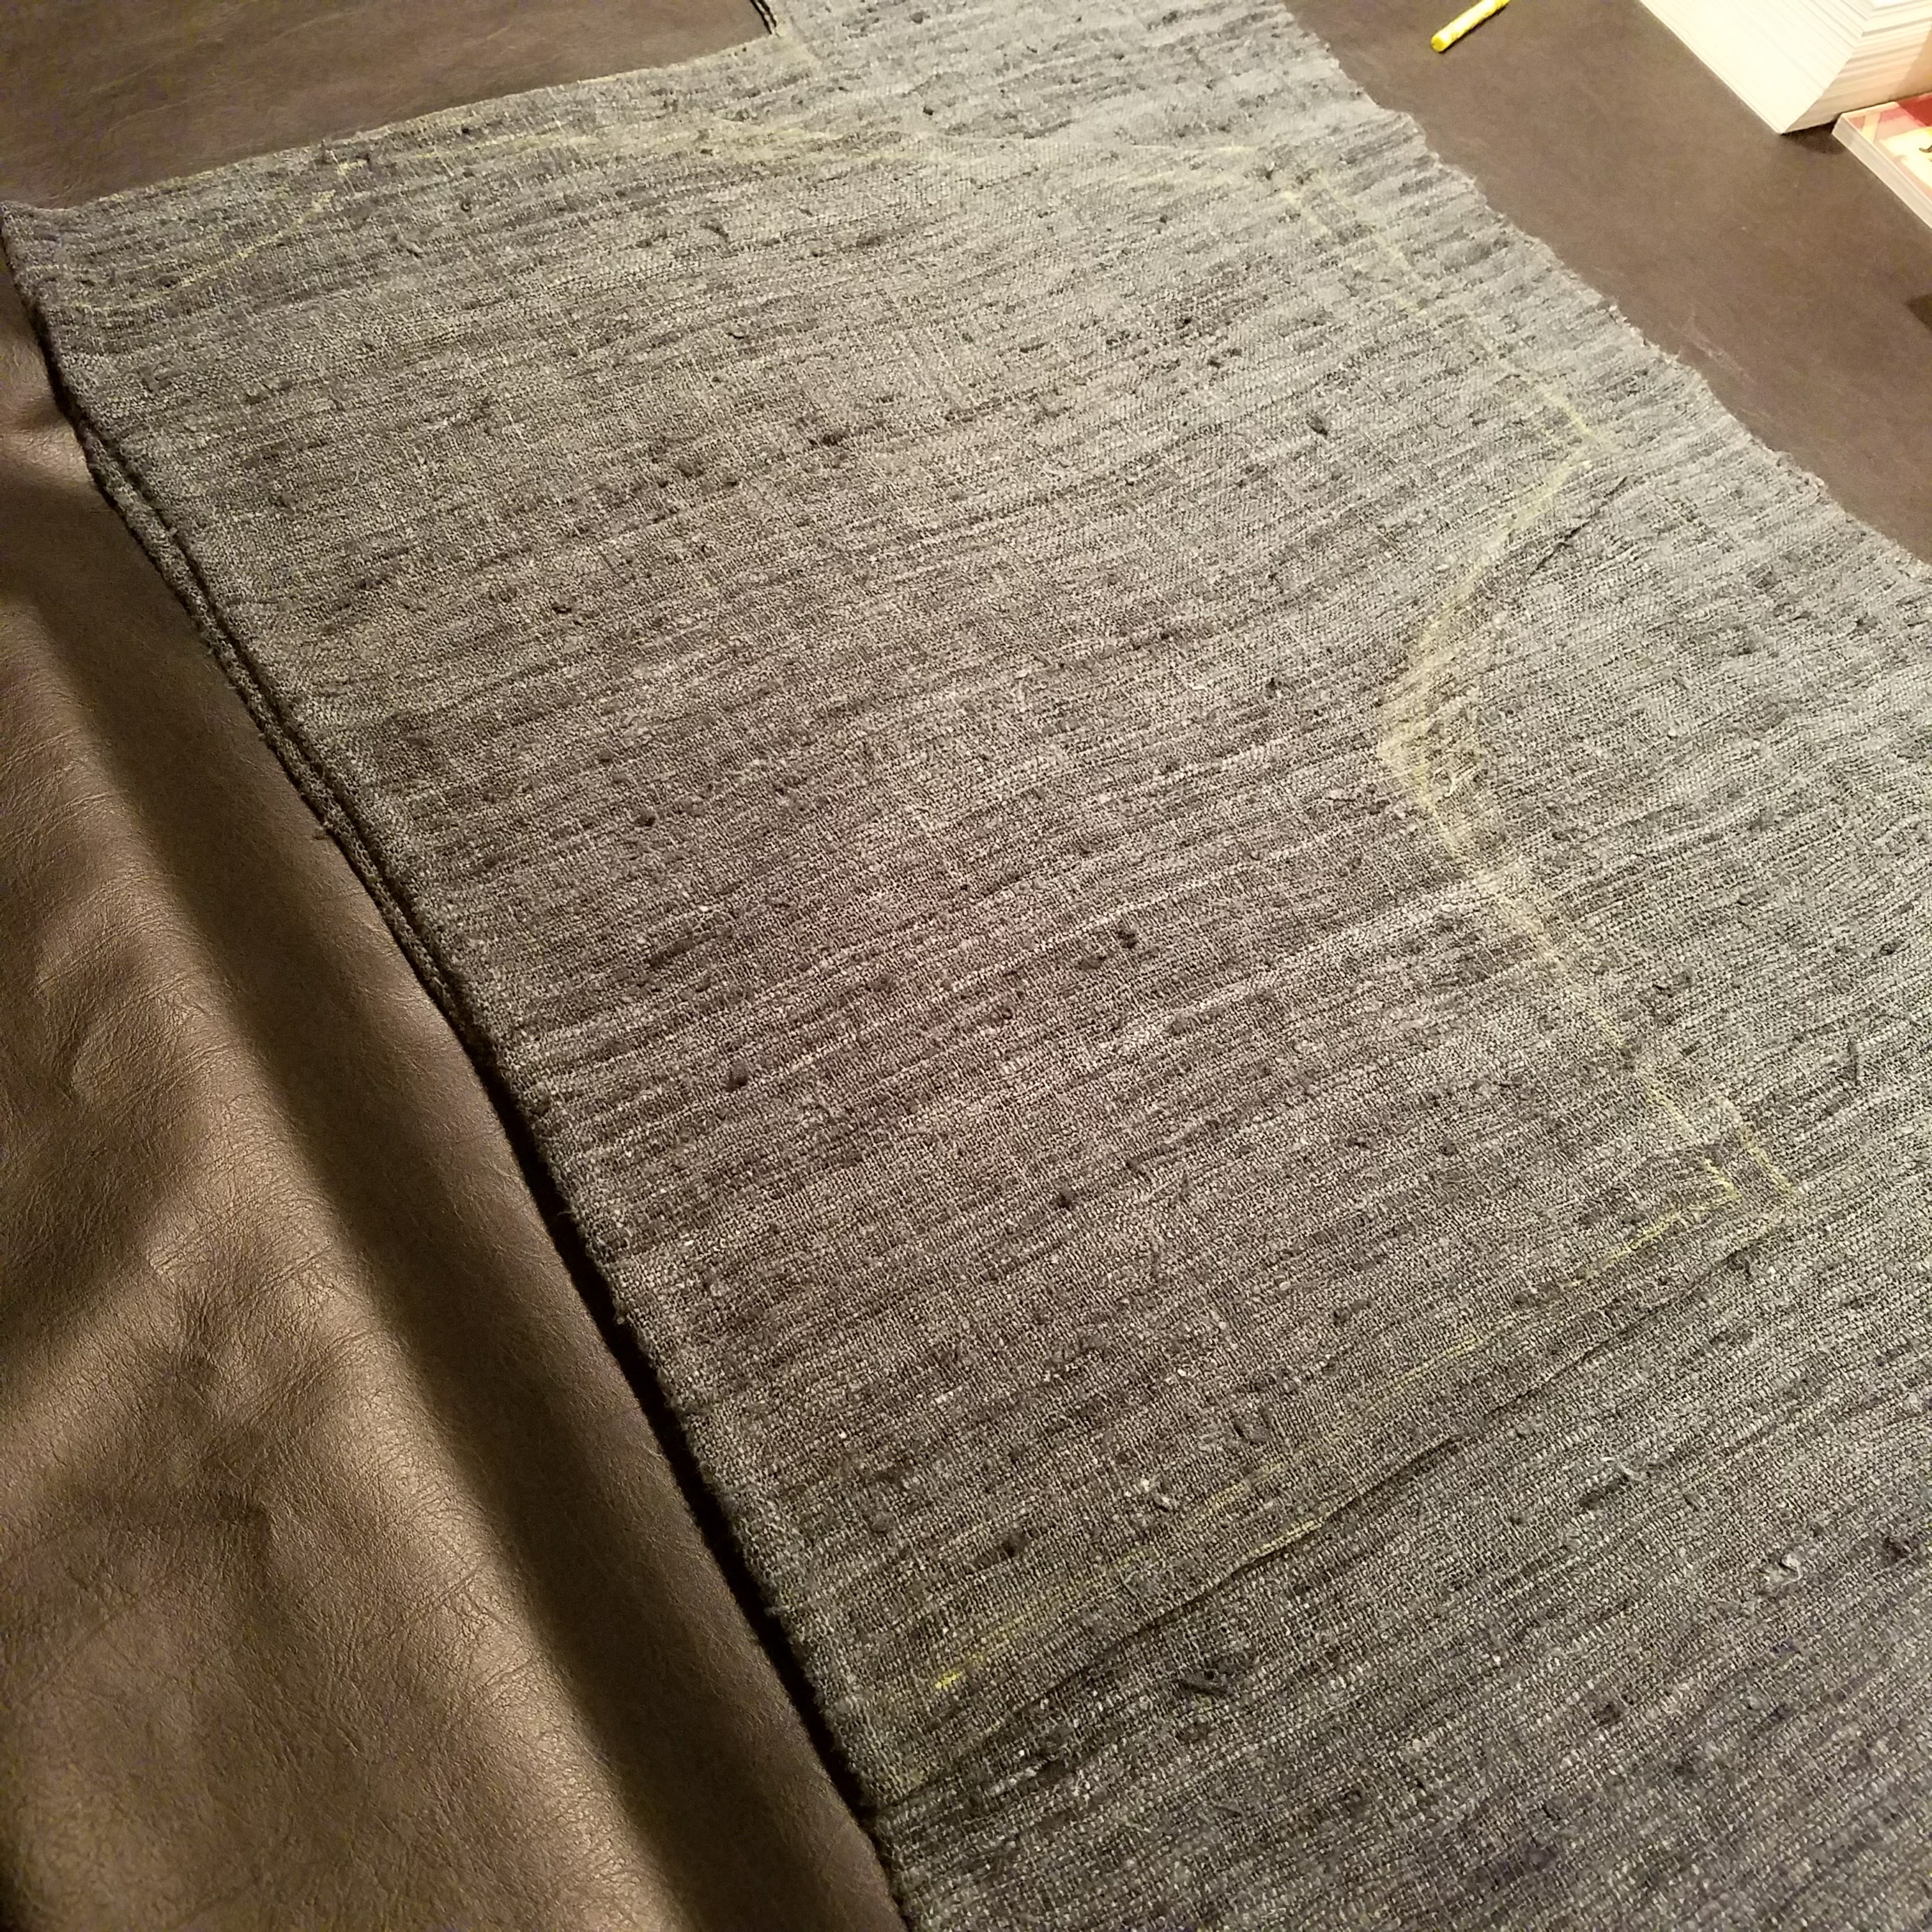
It arrived on Friday and, unpacking it out of the box, I was a bit worried that it wasn’t the right fabric for my project. While the silk matka I got at my local store has a soft hand (very similar to linen), the fabric I got from B. Blacks was quite stiff. The gray also had a sheen that made it look silvery. Definitely not the casual, cosy fabric I was hoping for.
But I forged ahead and put it in the wash, figuring a wash and dry might soften things up. And it did, beautifully. Even just coming out of the washer, the fabric had ‘fuzzed’ up, looking much softer and more matte. After a bout in the dryer, it was perfect. One thing to note — it shrank about 10%. My 72″ of fabric lost about 6-7″ during the wash and dry. Luckily, that was just enough length for my project. The one thing I don’t love about the fabric is that the gray has a greenish cast to it. Not my favorite shade of gray, but it’s just fine.
I’m sure there are other fabric options out there that would work just as well. Keep in mind that you want something with some body, but still with good drape. Maybe there are some wool blends or flannel-like fabrics that could work well too. That rough-woven texture contributes to the look too, so keep you eyes open for something like that.
Ok – ready then? Let’s get sewing ![]()
Step 1: Gather your materials
Just like with the linen top tutorial, I’ll start with a list of things you need. In fact, it’s basically the same exact list:
- First off, you’ll need a sewing machine. No need to buy one if you’re just trying this sewing thing out for the first time. See if you can borrow one from a friend, co-worker, acquaintance, etc. Many people have one stashed away that they never use
 It doesn’t have to be anything fancy. My sewing machine is one I picked up at Sears, over 20 years ago, for about $150. It’s as standard and simple as they come, and I’ve used it to make clothing, quilts, stuffed toys, you name it.
 - Next, you’ll need some pins. They will make your life much easier, trust me.
- Iron and ironing board. Again, it’s worth having them. You’ll see

- Scissors. If you don’t have a pair of fabric scissors set aside, it’s worth buying a new pair of shears and saving them only for fabric cutting. They’ll stay nice and sharp and won’t fray the edges of your fabric when you cut. I have mine marked with a ribbon so they don’t get used for anything but fabric.
- Now the fun part – fabric. As noted above, I used silk matka for this project and it worked really well. I bought 2 yards, which lost about 6-7″ after washing and drying.
- Thread. An all-purpose thread in a matching color will do nicely. I read some internet advice that silk thread should be used to sew silk fabrics, but I had bad luck with silk thread breaking in my machine and honestly, with thicker raw silks (vs. delicate silk crepes), I think the all-purpose thread is fine.
Step 2: Wash and dry your fabric
If you use silk matka, you’ll probably notice that the fabric is marked ‘dry clean only’ as well as not color-fast. You can definitely wash and dry it, and that will make your item machine washable in the future. As for color fast-ness, the best bet is probably to wash this item separately after it’s completed. Reds are especially notorious for bleeding color, so unless you want all of your clothes to be pink, keep any red-colored items separated from the rest of your wash!
As mentioned (this is the third time now, but I don’t want you to miss it!), this fabric will shrink about 10% when you wash it. I lost 6-7″ on a 2 yard (72″) cut.
Step 3: Trace and cut your pieces
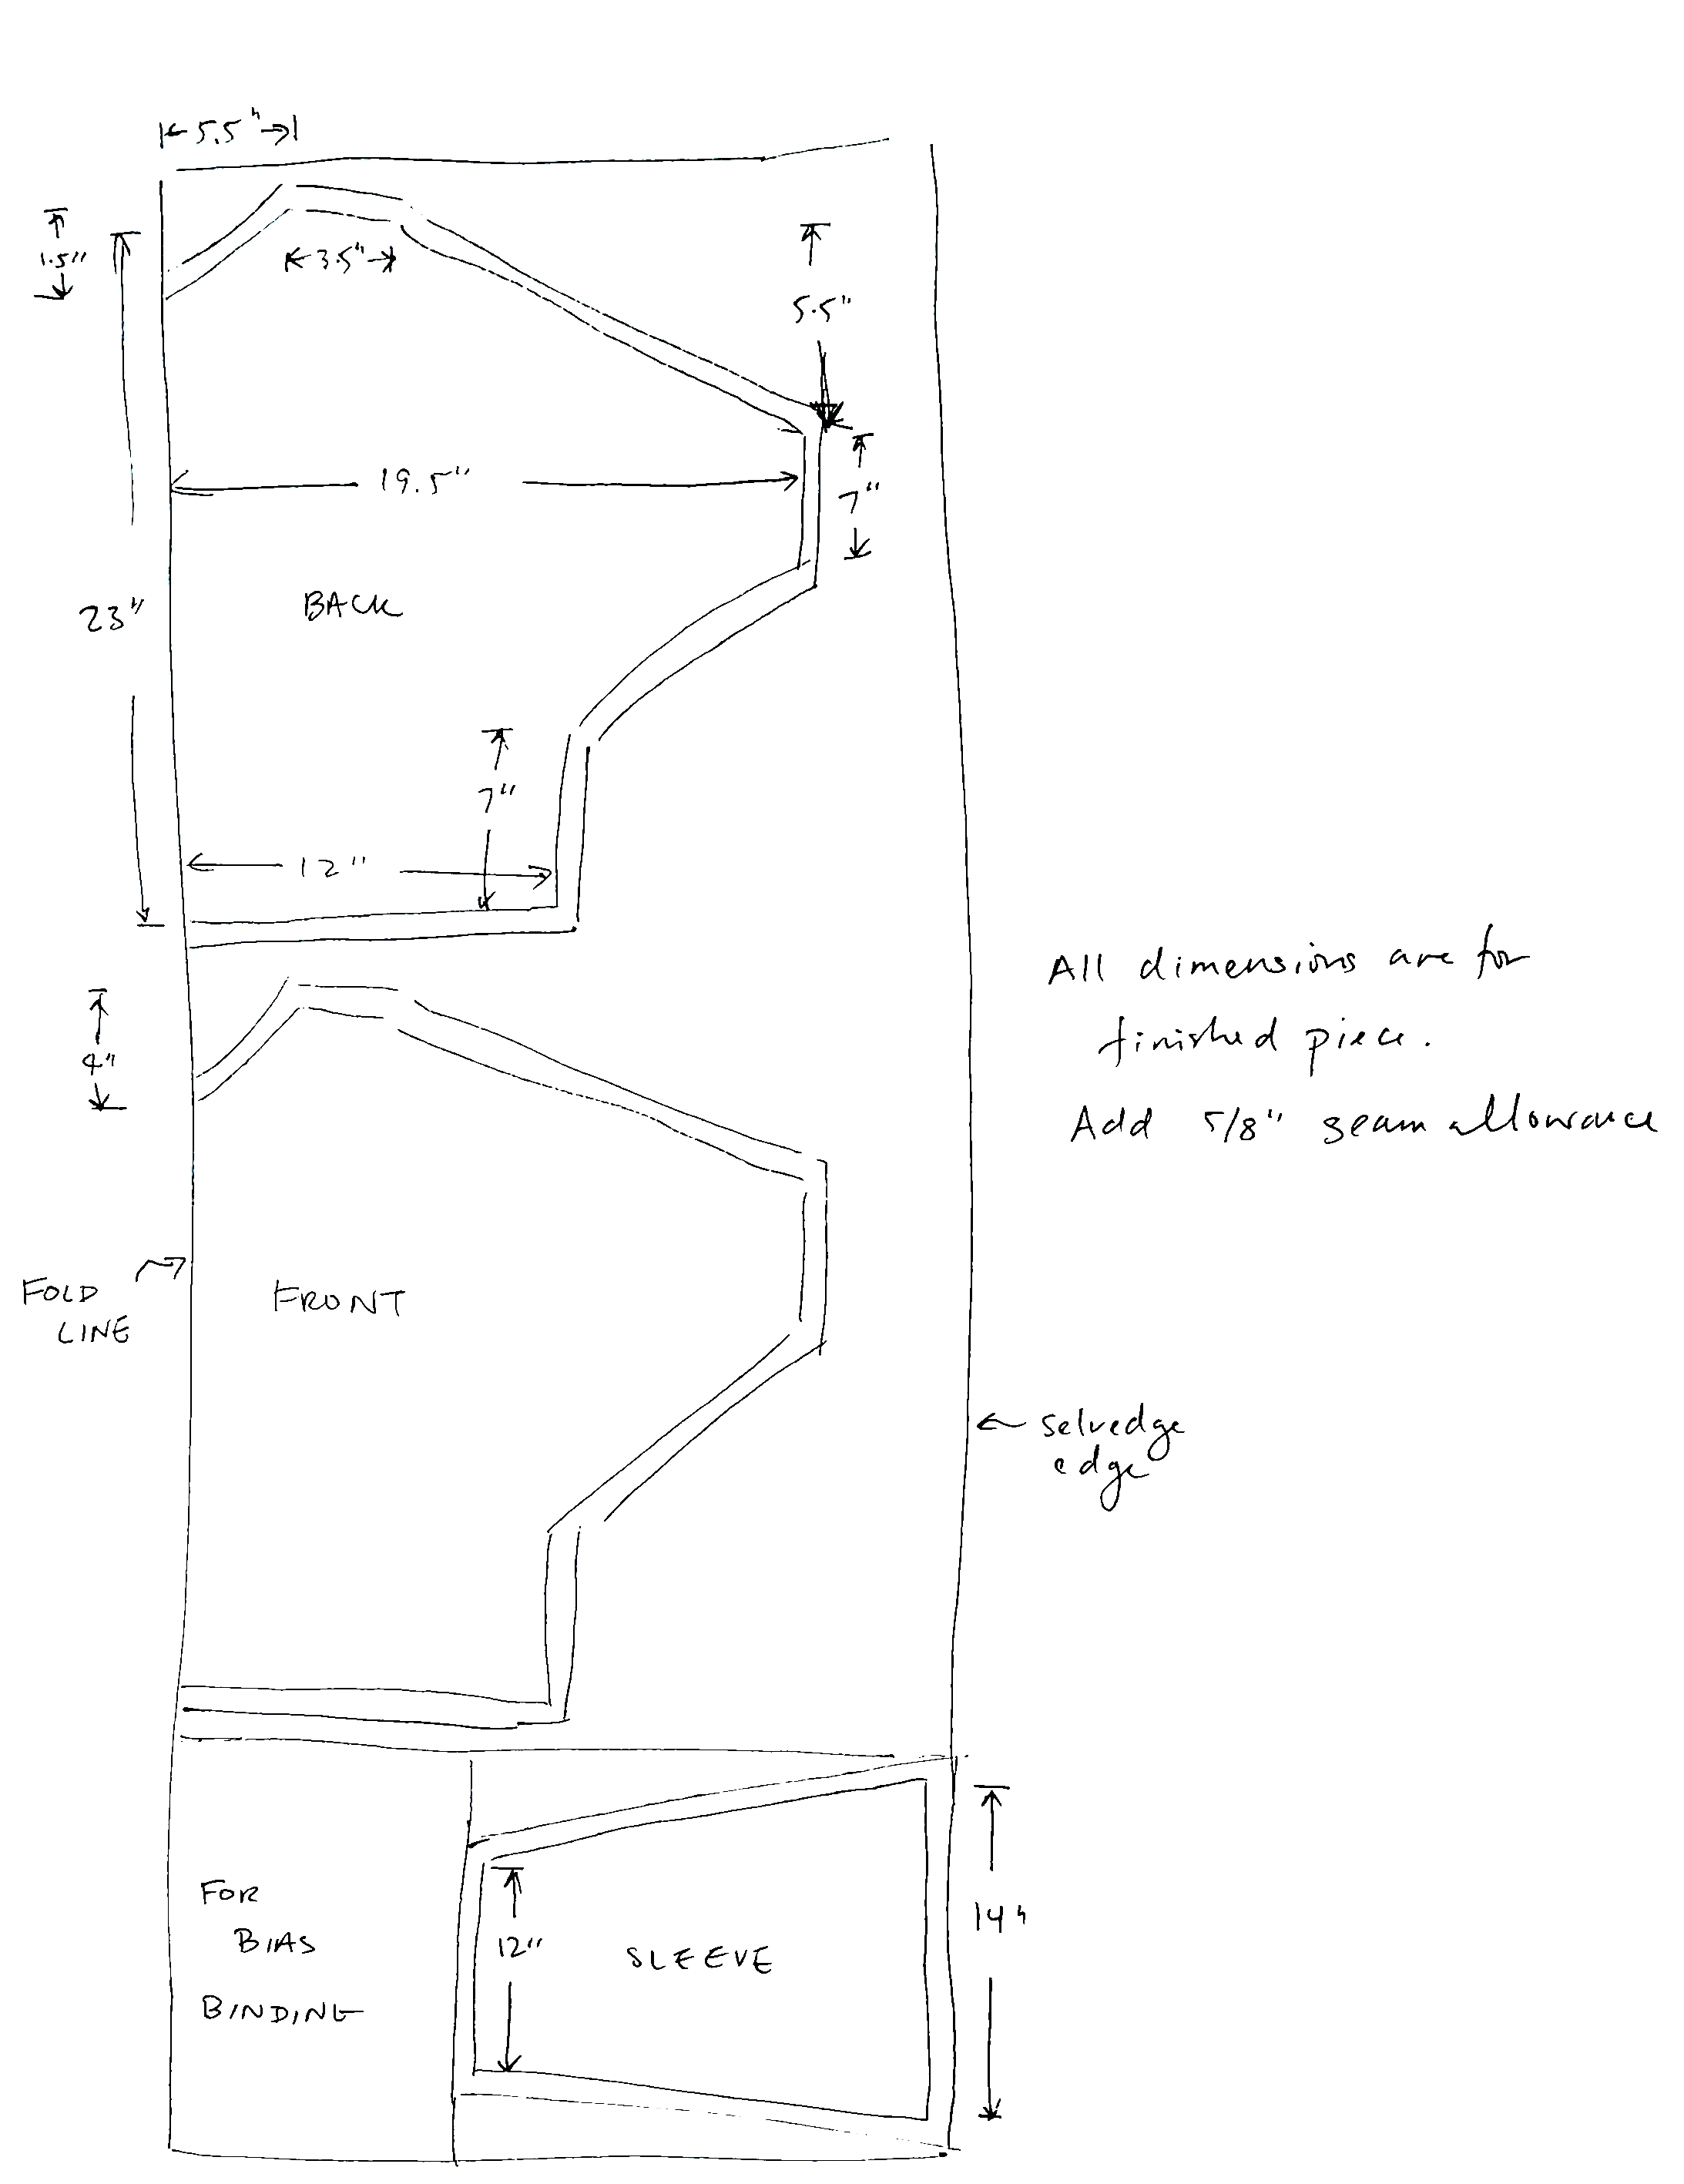
Unlike the linen top, this top has four pieces instead of 2. Still, the sleeves are very simply shaped, with no set-in shoulders or anything too complicated. Here’s the layout and dimensions I used for my piece. Remember, you can use a few of your existing tops as reference. The neckline on mine is quite wide. You may want to make yours smaller if you don’t prefer that look.
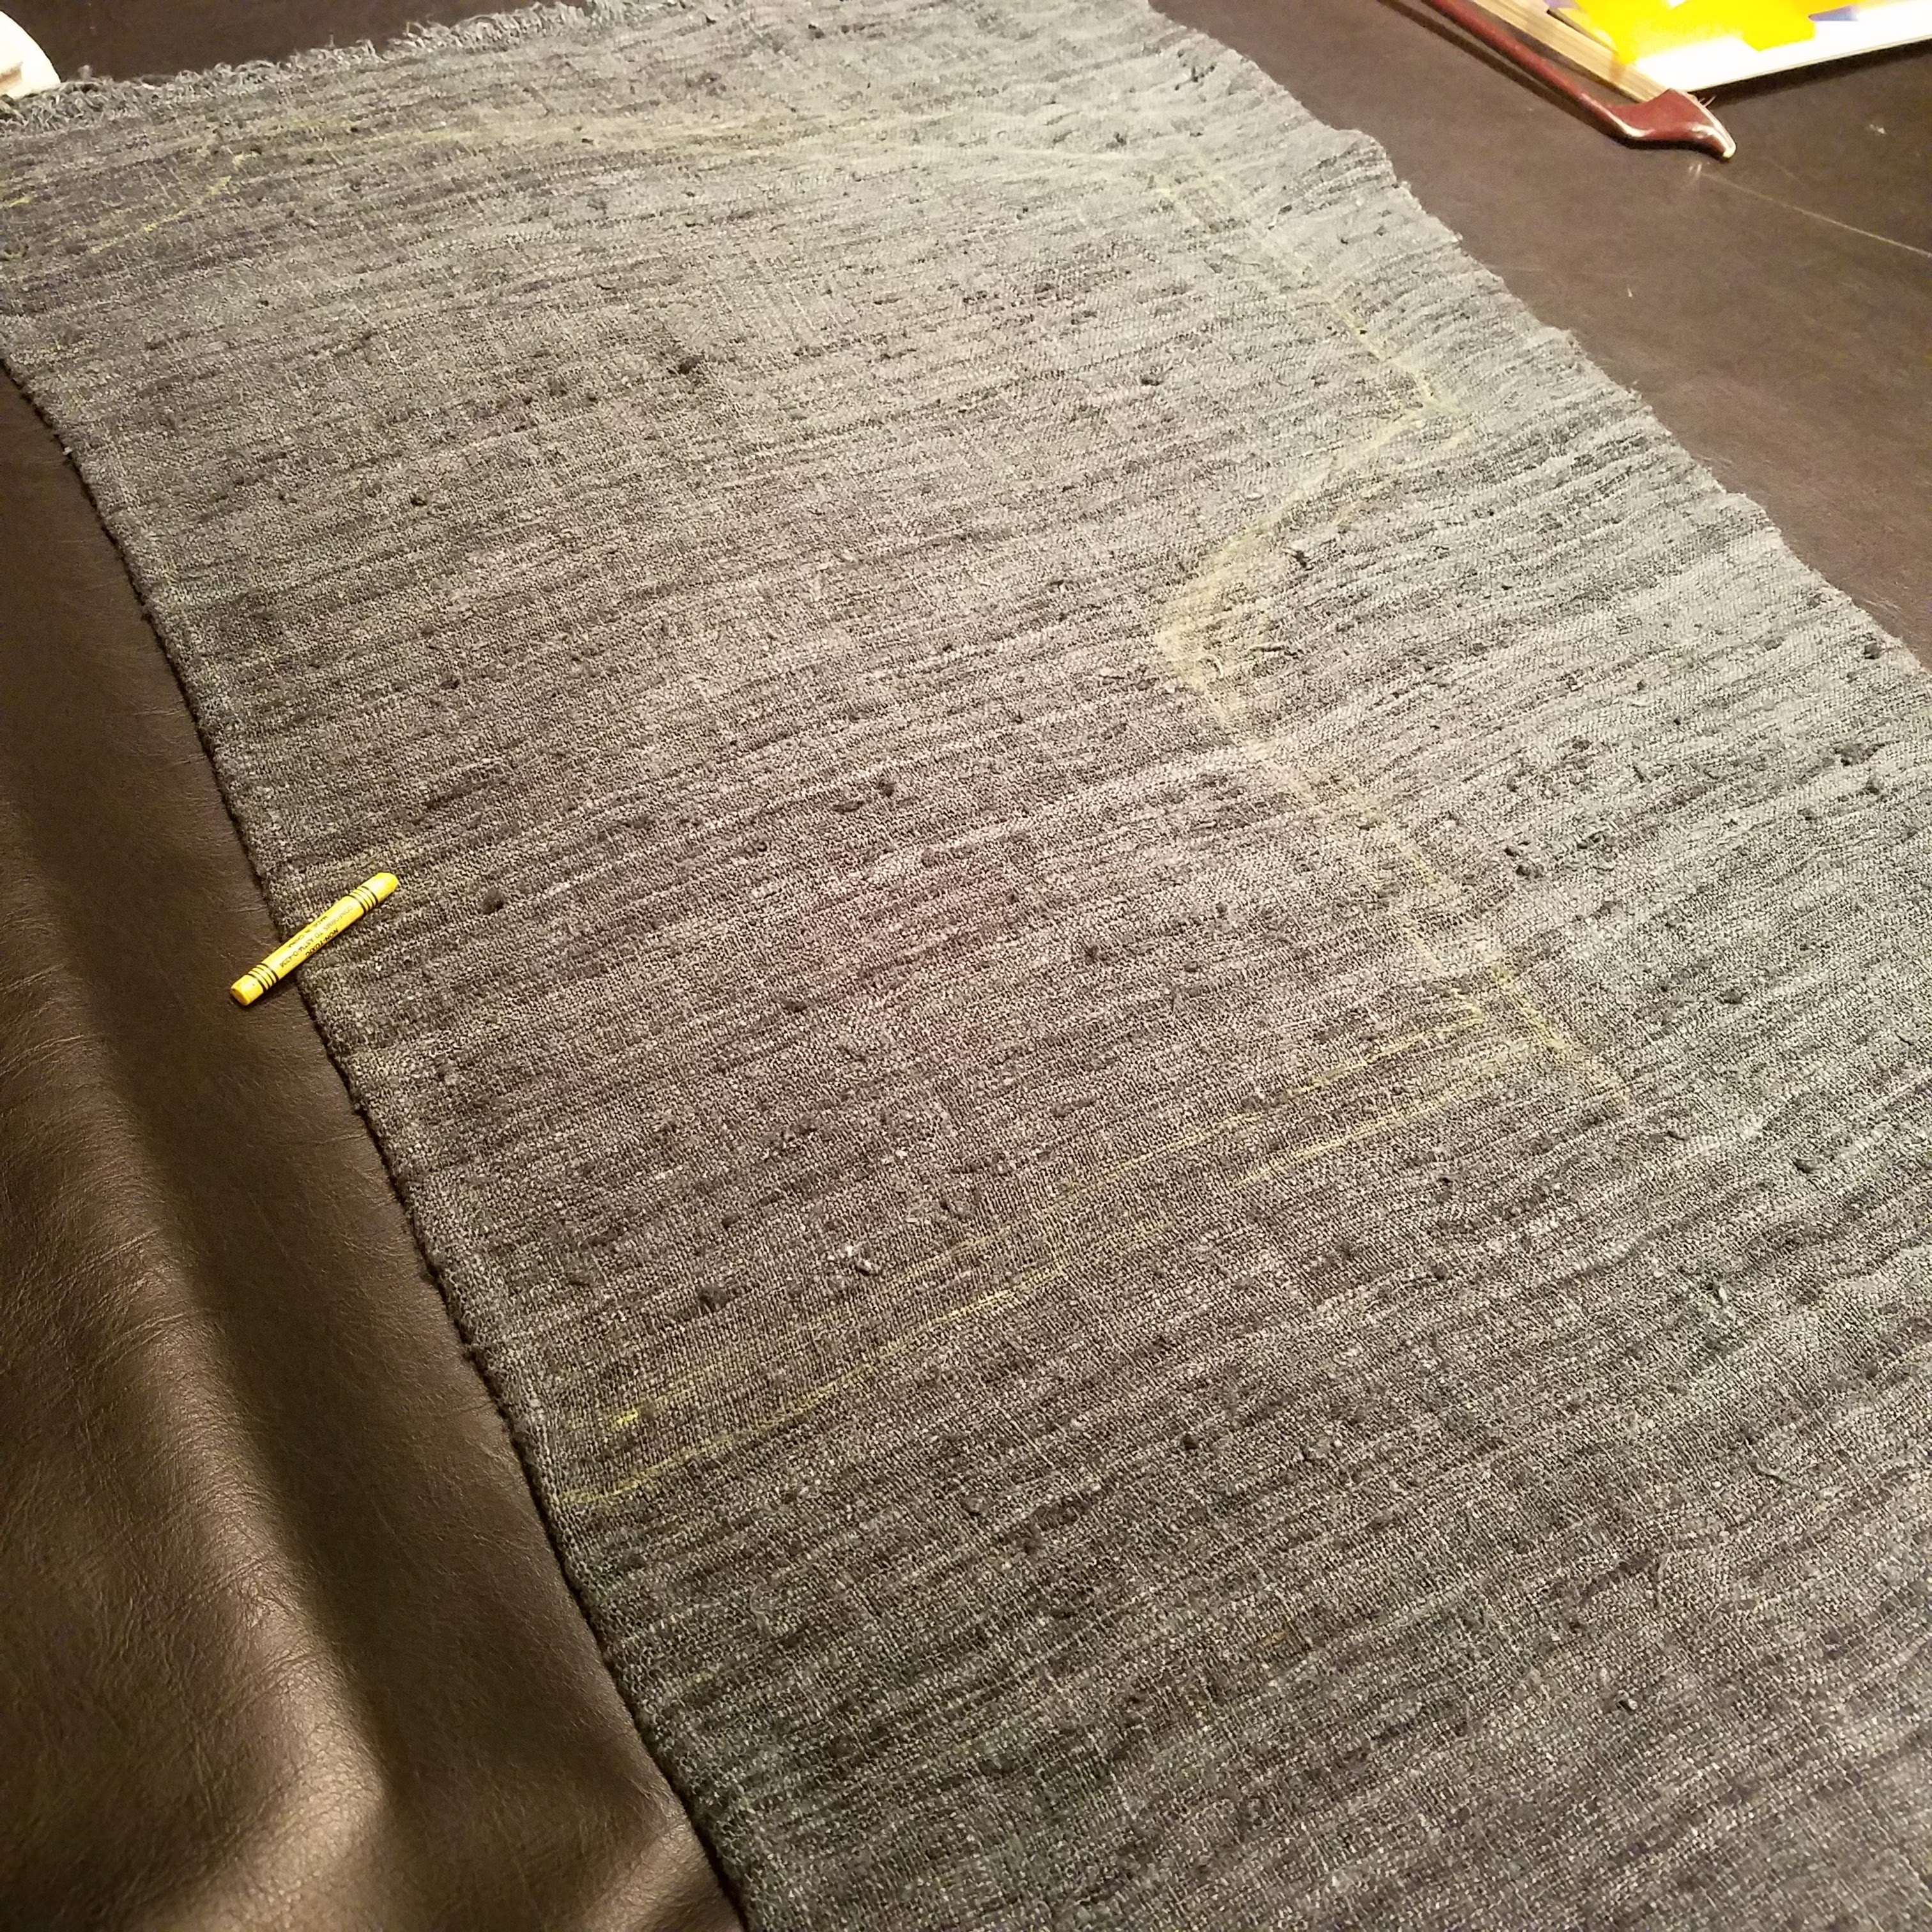
You’ll want to fold your fabric in half length-wise. Then sketch out the shape of the shirt. For this rough, dark-colored fabric, I used a yellow crayon. Sketch a line for the actual edge of the shirt, then sketch another line 5/8″ outside of that which will be your cut-line.
Wherever your line meets the fold, try to ensure it is perpendicular right at that point, or you’ll get a slight “v” when you unfold your piece.
Sketch it out, making adjustments until you like it, and it matches your desired measurements. Then take a deep breath and cut ![]()
Next, take the piece you just cut out and using it as a guide, trace out a piece for the other side. The shoulder, sleeve and side will the the same as the first piece. The neckline will probably be a bit different (usually, I have about a 1″ difference between how far the neckline dips in the front vs. in the back.)
For the sleeves, as you can see in my sketch, they’re just trapezoids that taper from the armhole down to the wrist. To sketch them out, fold the fabric in half along the length of the sleeve, line it up to where it will attach to the shirt, and sketch out a shape that fits in with the taper from the shirt. Don’t worry if it’s not perfect. These sleeves will be rolled up most of the time, so their shape isn’t critical. The main thing to ensure is that the armhole measurement matches the sleeve measurement where they will attach.
The sleeves will look something like this:
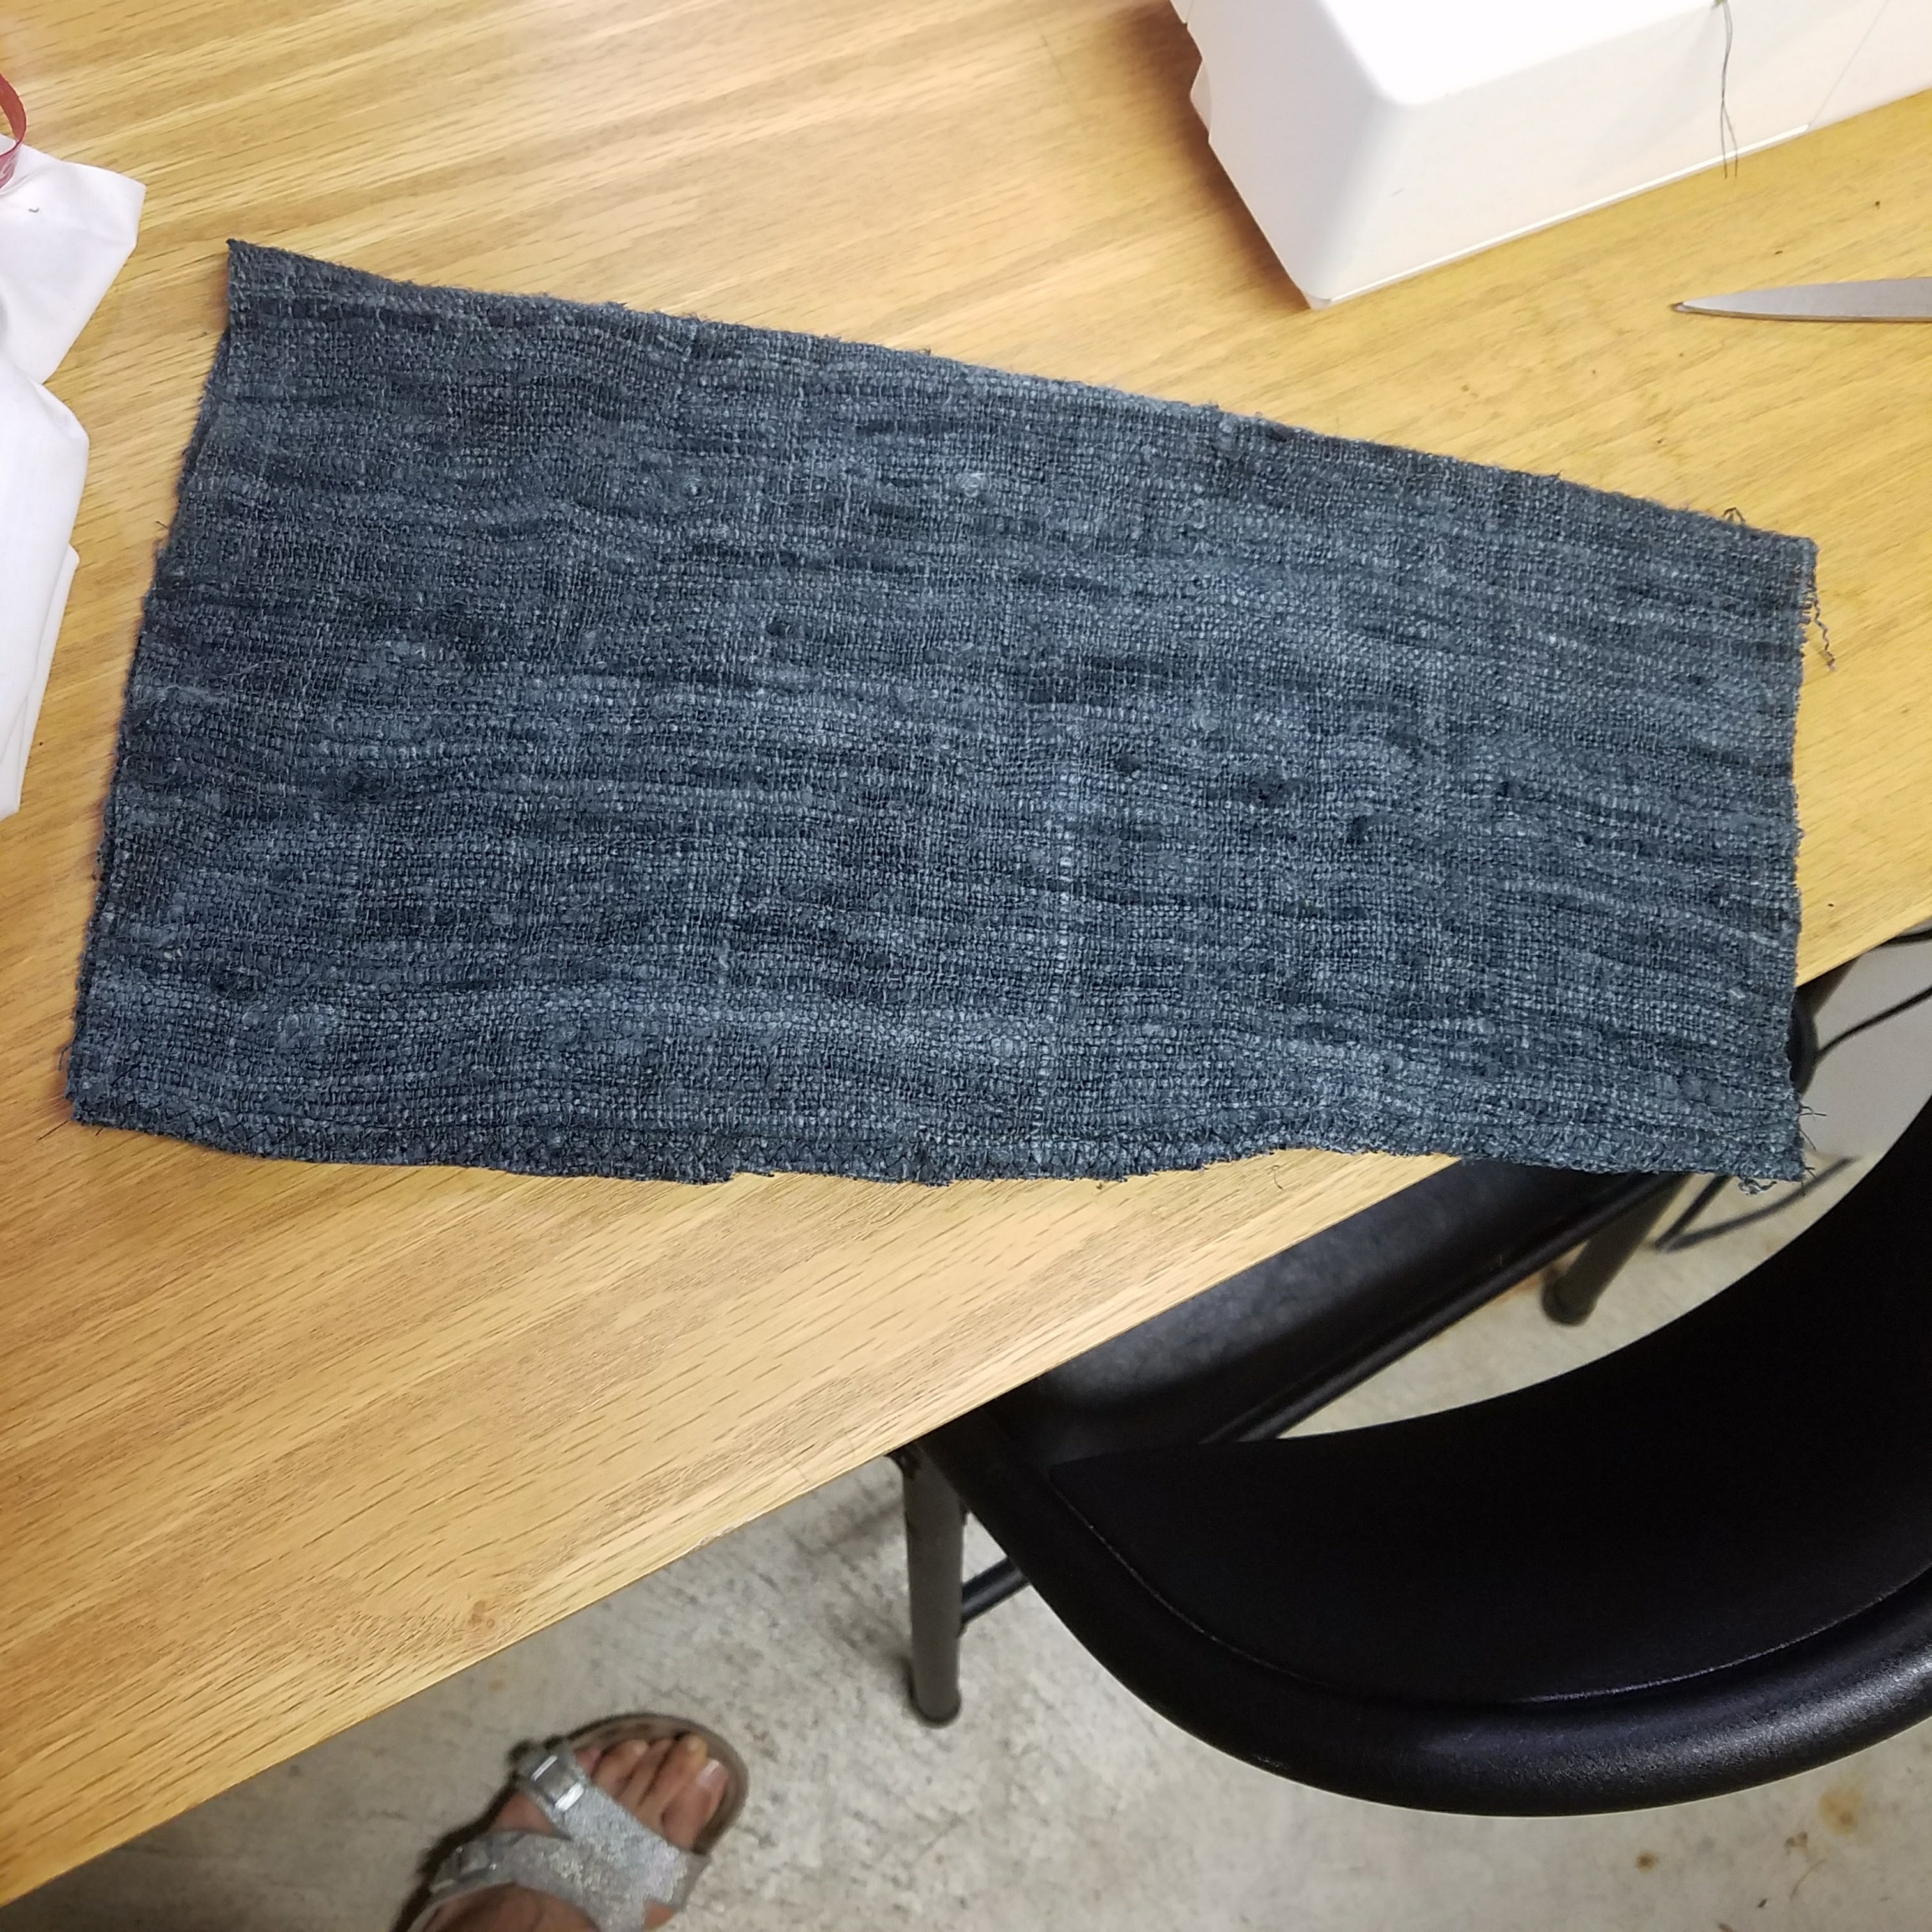
(that piece is still folded in half along the length of the sleeve.)
As you can also see from the sketch, I saved that center square of fabric between the sleeves to use to make a bias binding for the neckline. More on that later.
Step 4: Sew the shoulder and side seams (seams 1 and 2)
Ok — if you’ve never used a sewing machine before, either read the manual or get a friend to help you figure out how to thread it, fill the bobbin, and sew both a straight and zig-zag stitch. You can practice on the scraps of fabric you have from step 3. Once you’ve got that figured out, we can move on to sewing our first few seams.
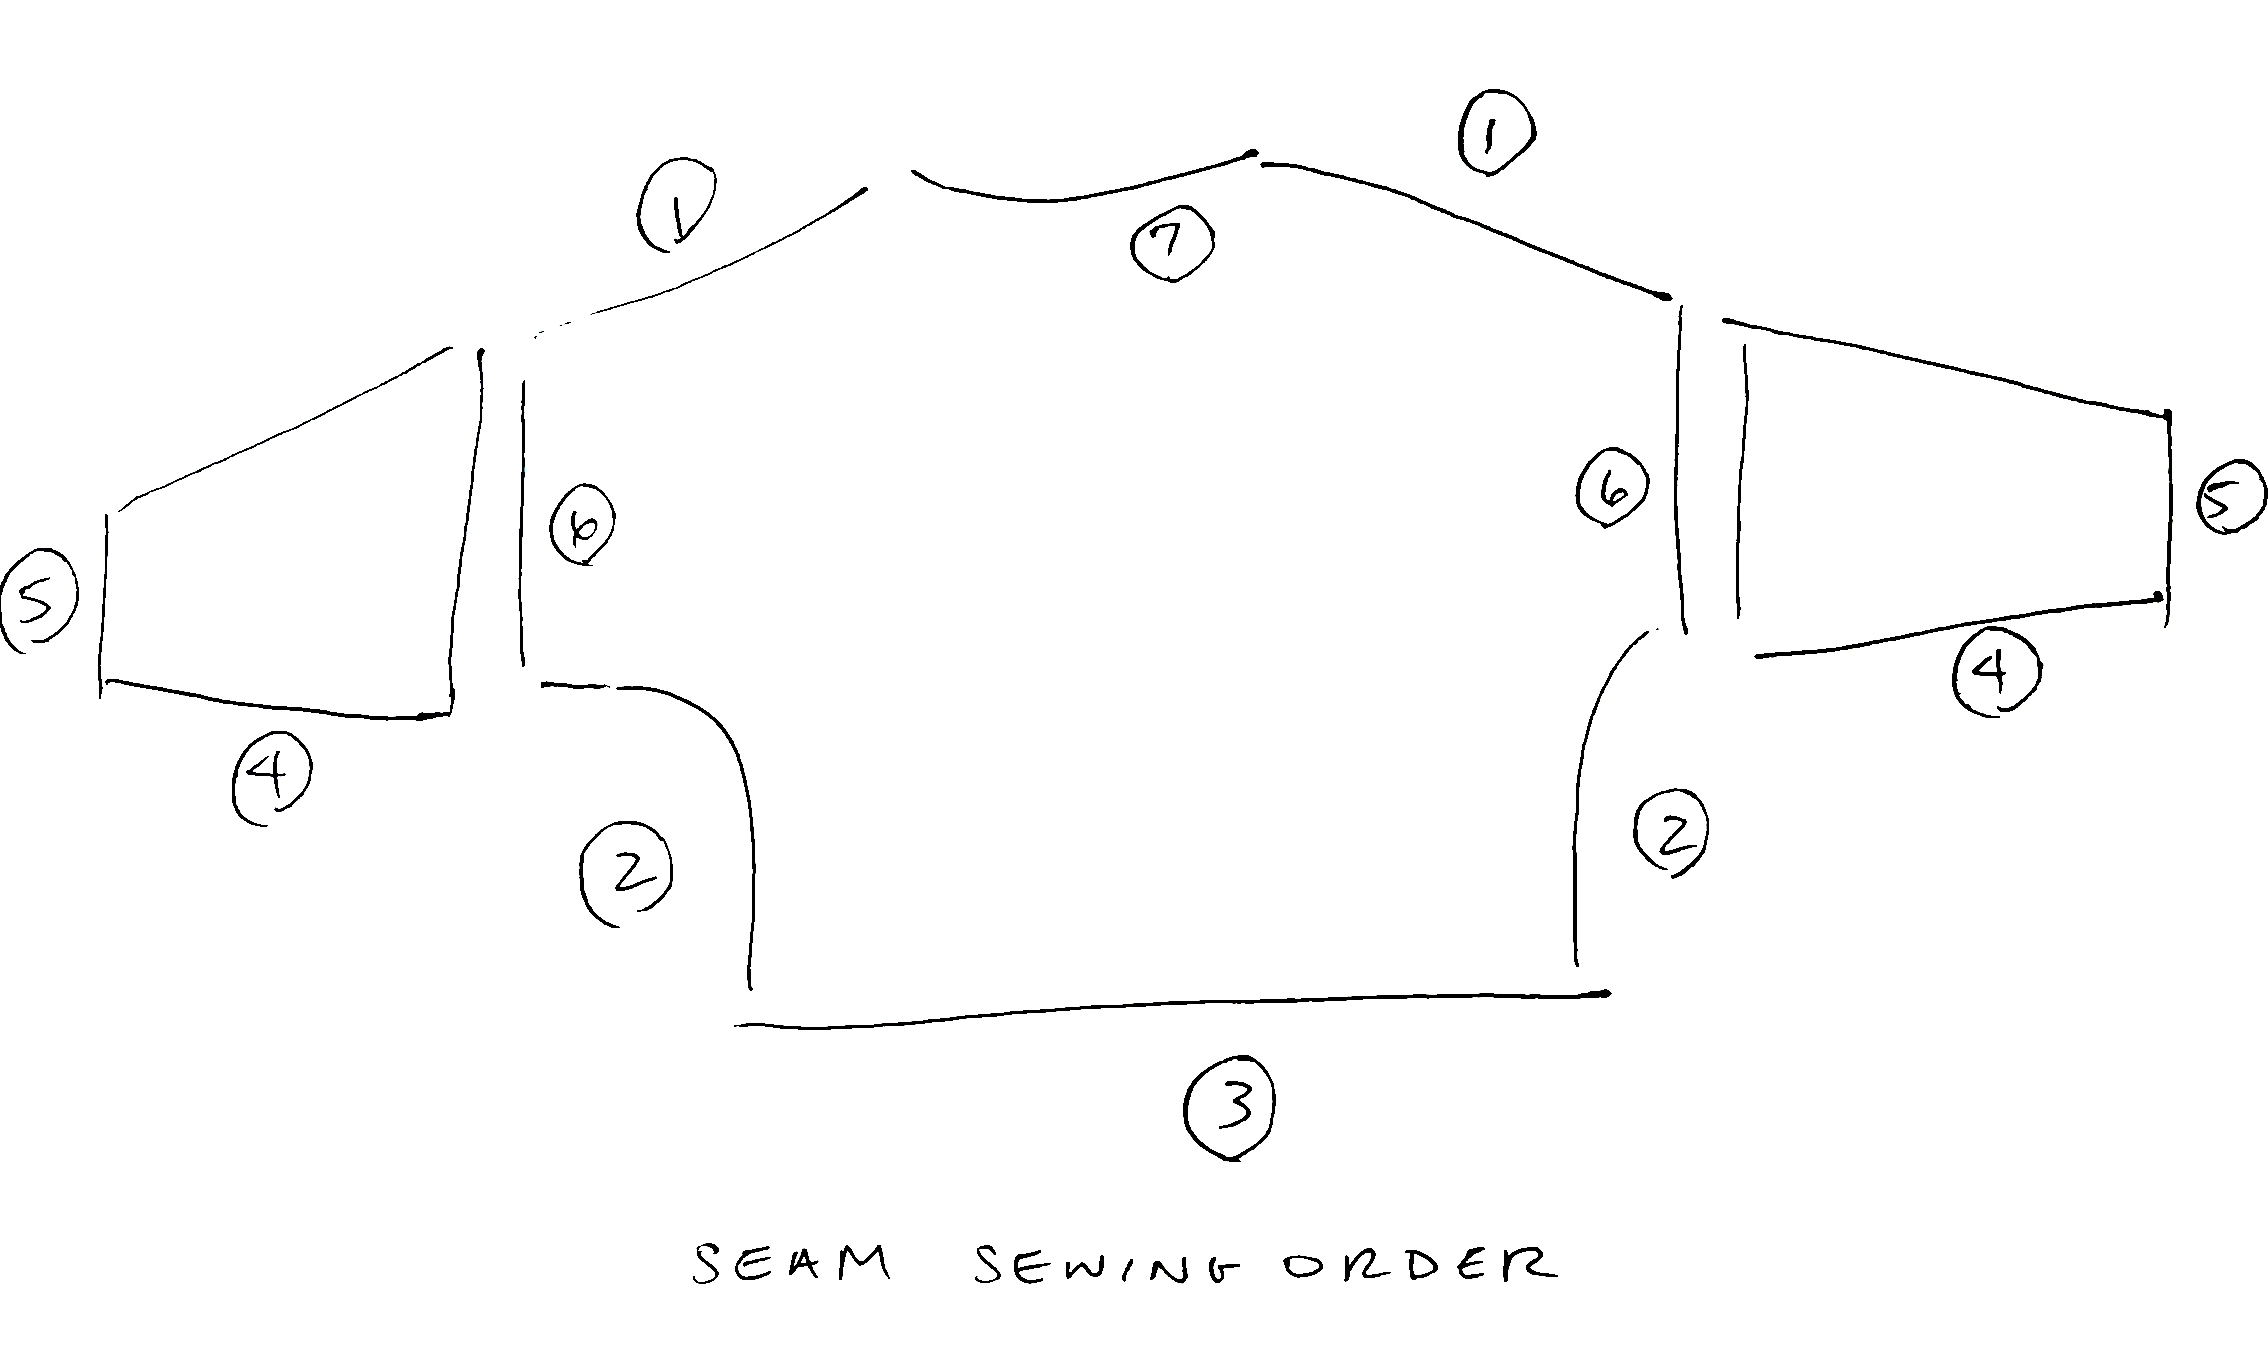
We’re going to sew the seams in this order:
1. Shoulder seams
2. Side seams
3. Bottom hem
4. Sleeve seams
5. Sleeve hems
6. Sleeves to body
7. Neckline
I didn’t take pictures of sewing these seams, as this dark gray fabric doesn’t isn’t great for demonstrations. Please see step 4 of the linen top tutorial for photos.
Sew the seams, then go back and zig-zag stitch in the seam allowance. Finally, trim off the excess fabric, just like in the linen tutorial.
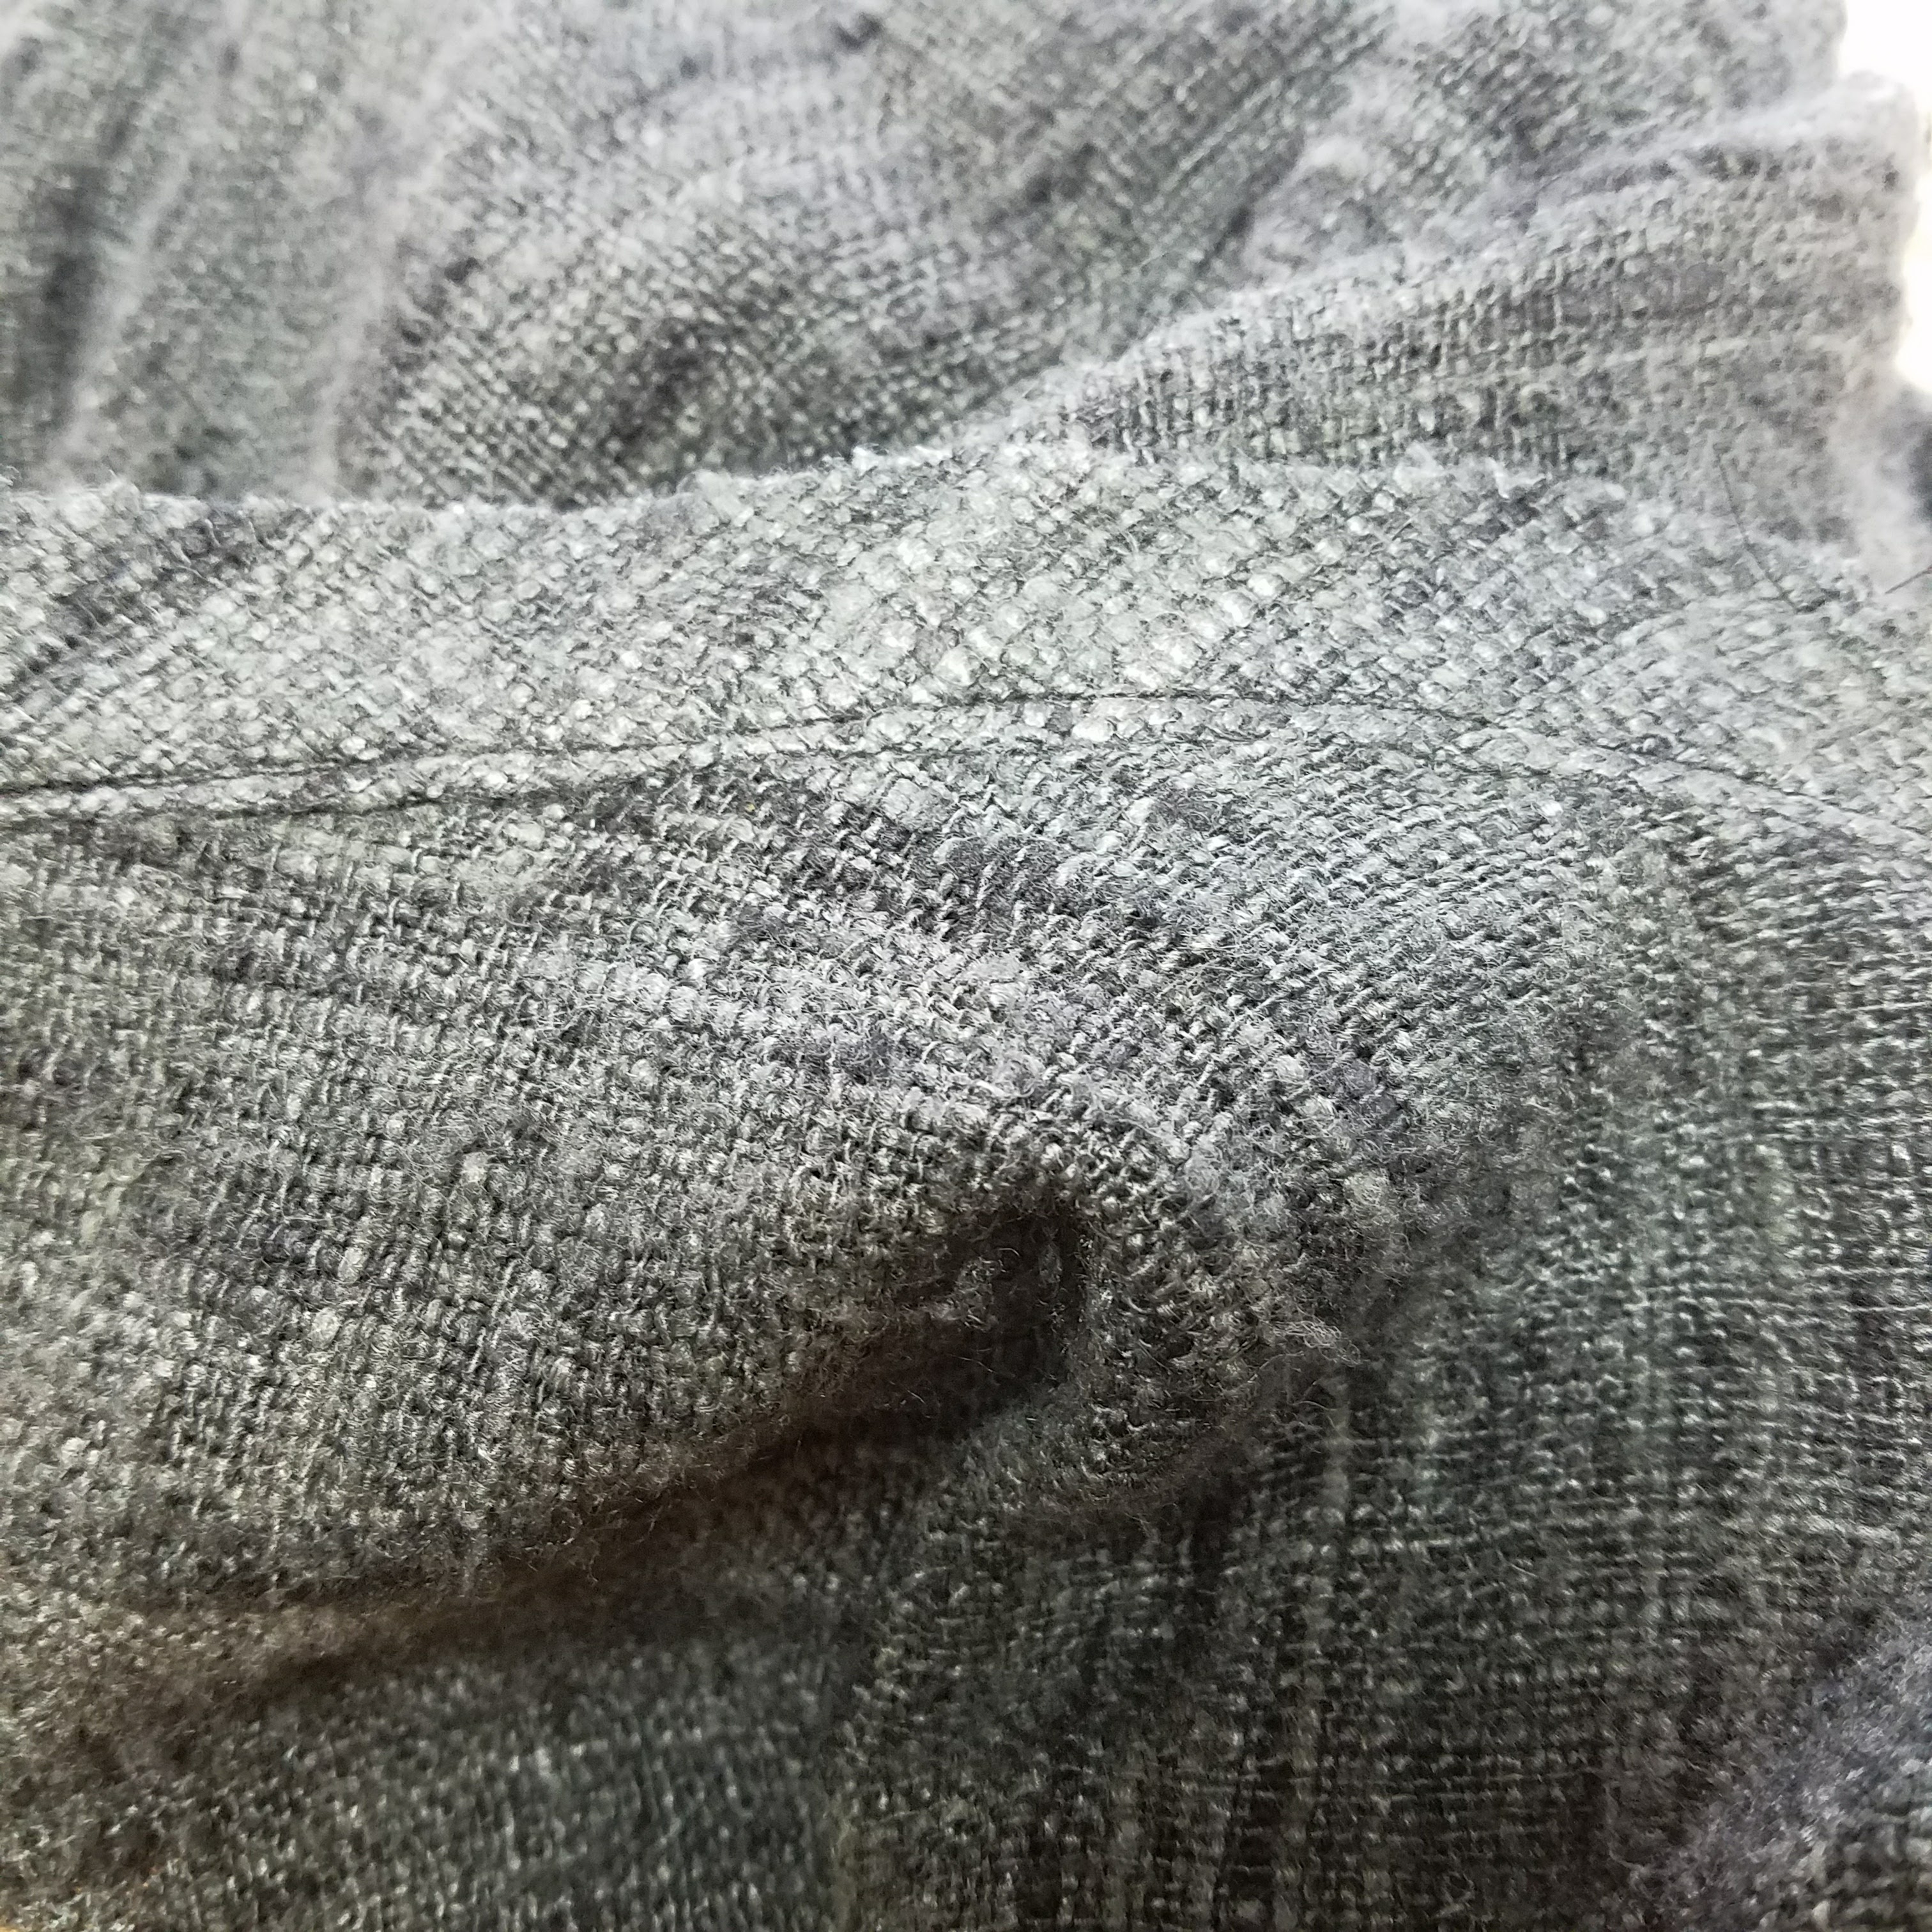
Step 5: Press and sew the bottom hem (seam 3)
Again, no pictures for this step, but see Step 5 of the linen top tutorial for photos. Essentially, you want to press the bottom hem up about 1/4″, then go around and press it again and sew the hem.
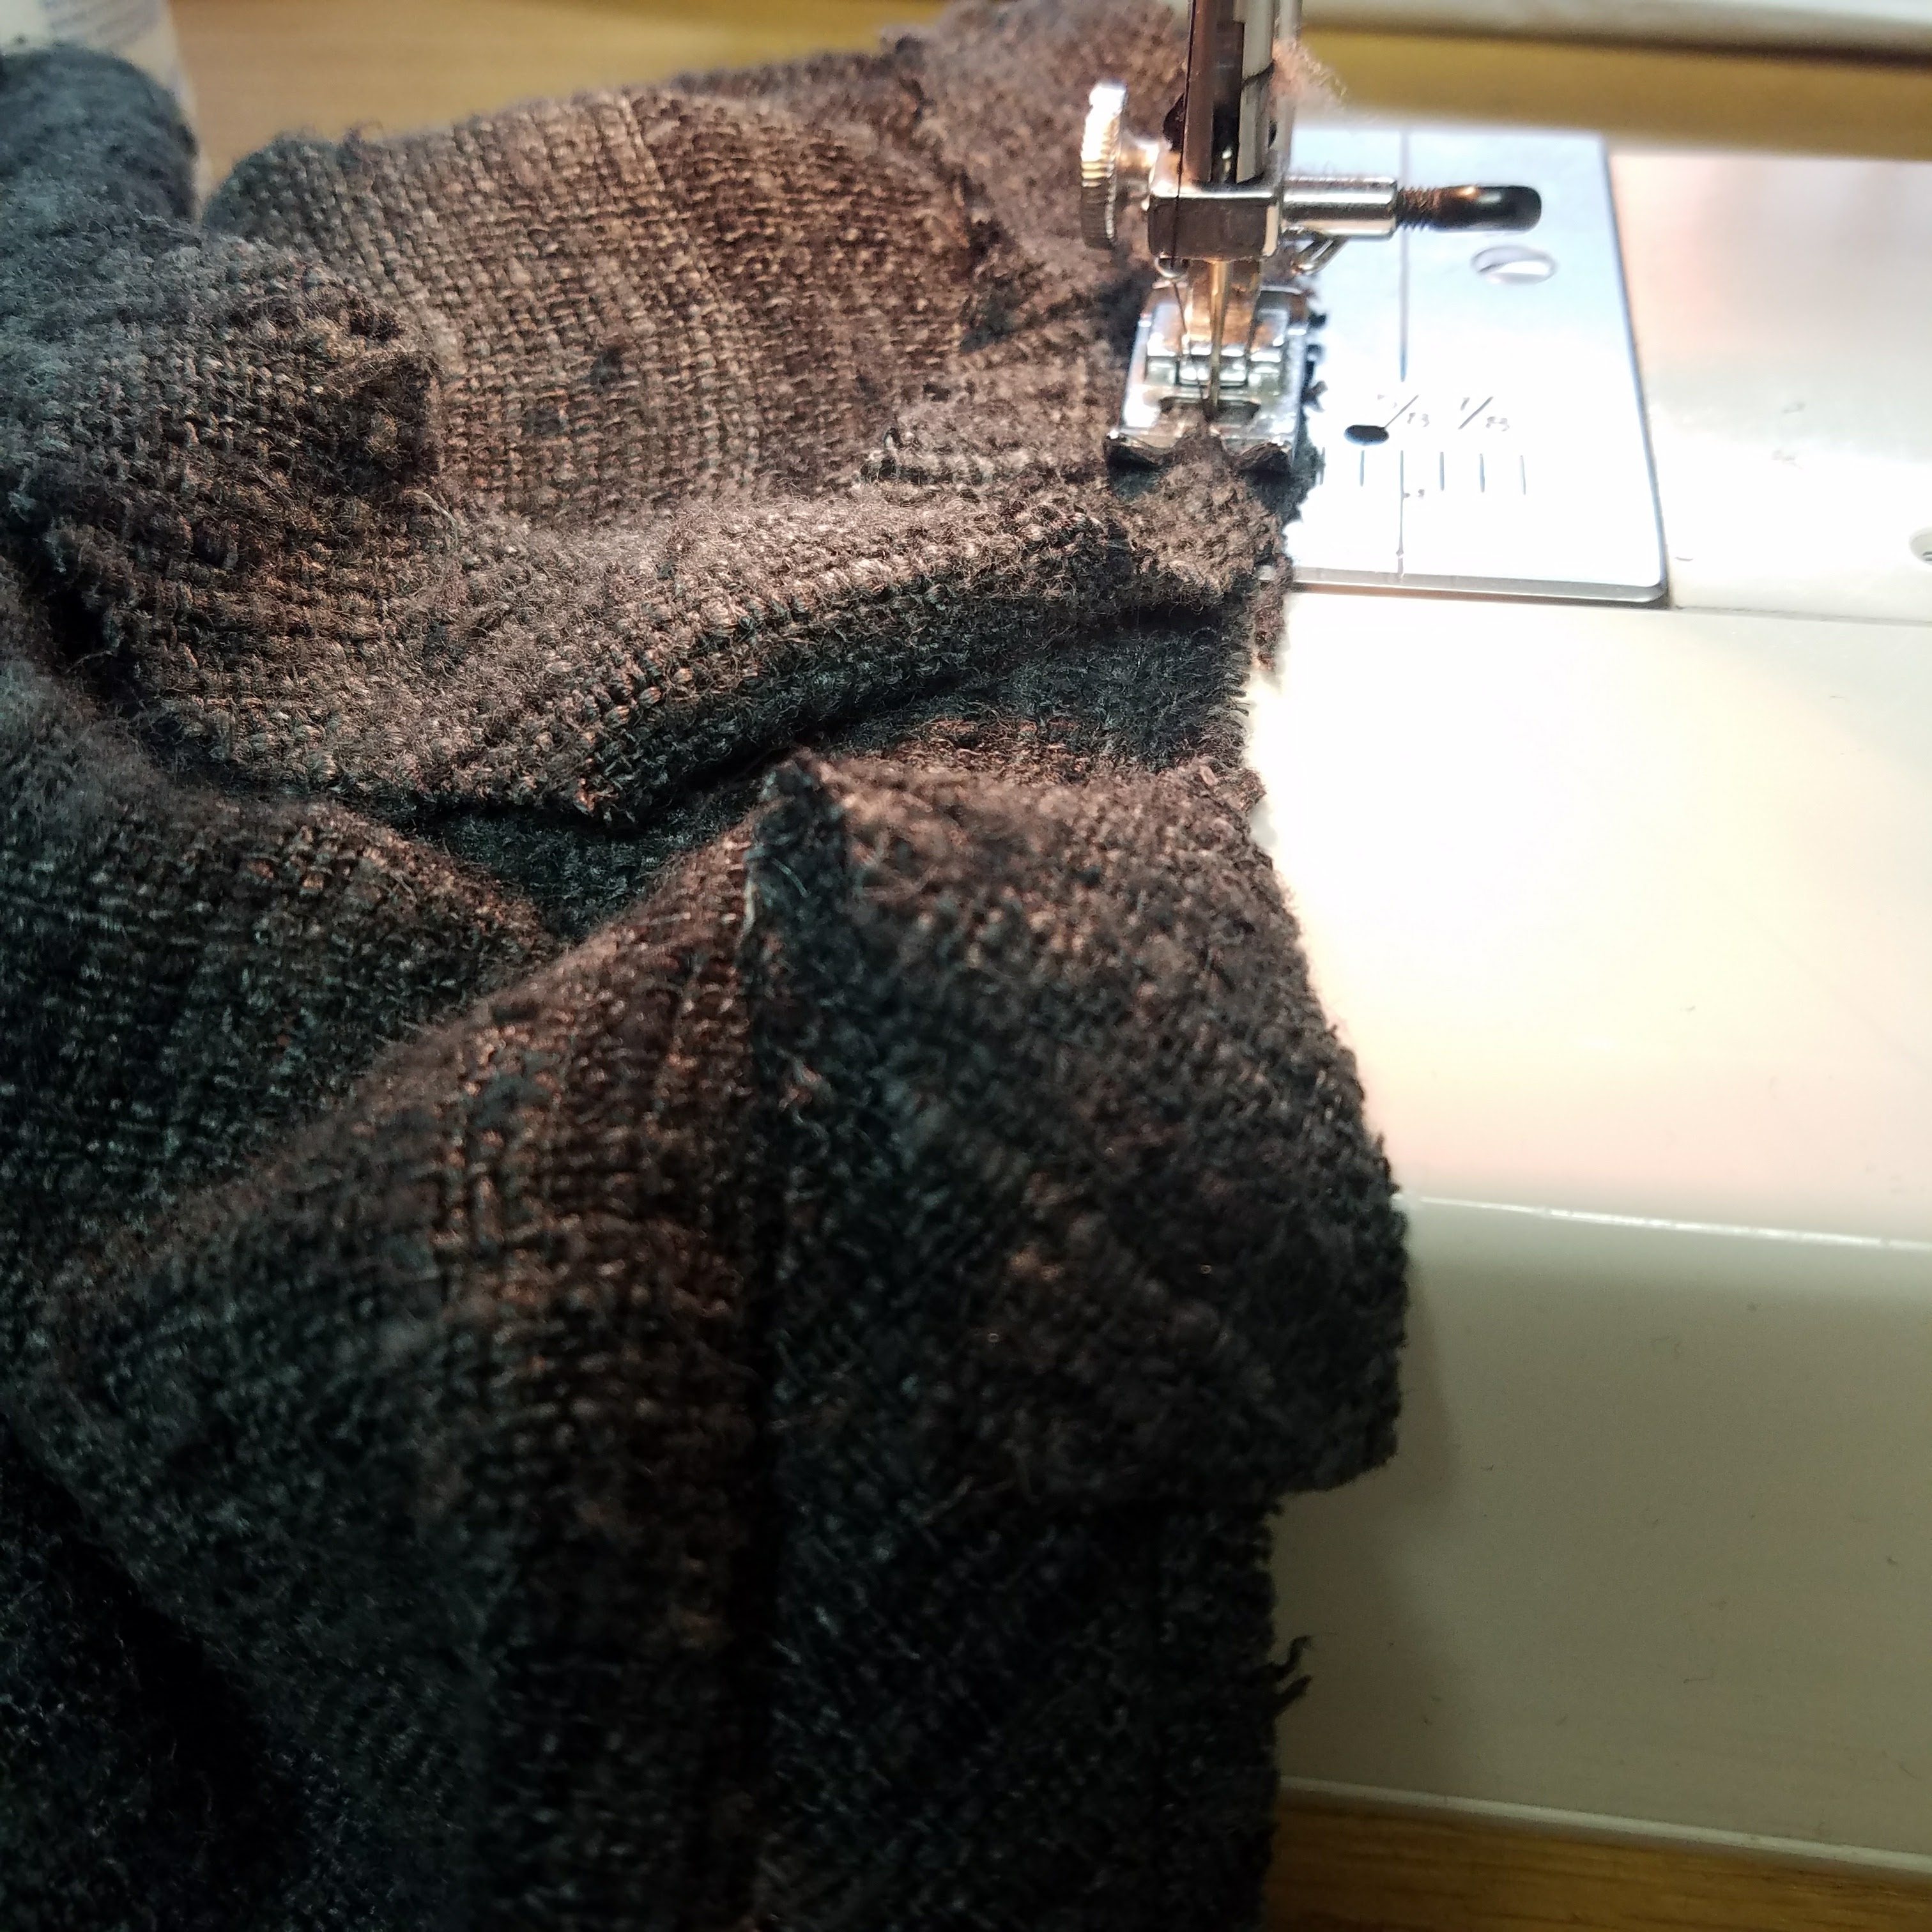
Step 6: Sew sleeve seams and hems (seams 4 and 5)
Make sure the sleeves are folded along the arm, right sides together, and sew along the arm seam. Do the same thing with the zig-zag stitch and trimming the seam allowance.
Then, along the hem at the wrist, press 1/4″ around the wrist towards the wrong side, then go around and press again. Then sew that hem (same way you did the bottom hem.)
Step 7: Sew sleeves to body (seam 6)
This is where it gets interesting… Here’s what you want to do:
- Turn your body piece right-side out. In other words, the seams should all be on the inside, as if you were going to wear it.
- Keep your sleeve pieces inside out. So the seams are on the outside.
- Take the hemmed, wrist-end of your sleeve and pull it over the arm of the body piece. Make sure the sleeve hem is downwards, so it’s at the armpit part of the sleeve, not the shoulder.

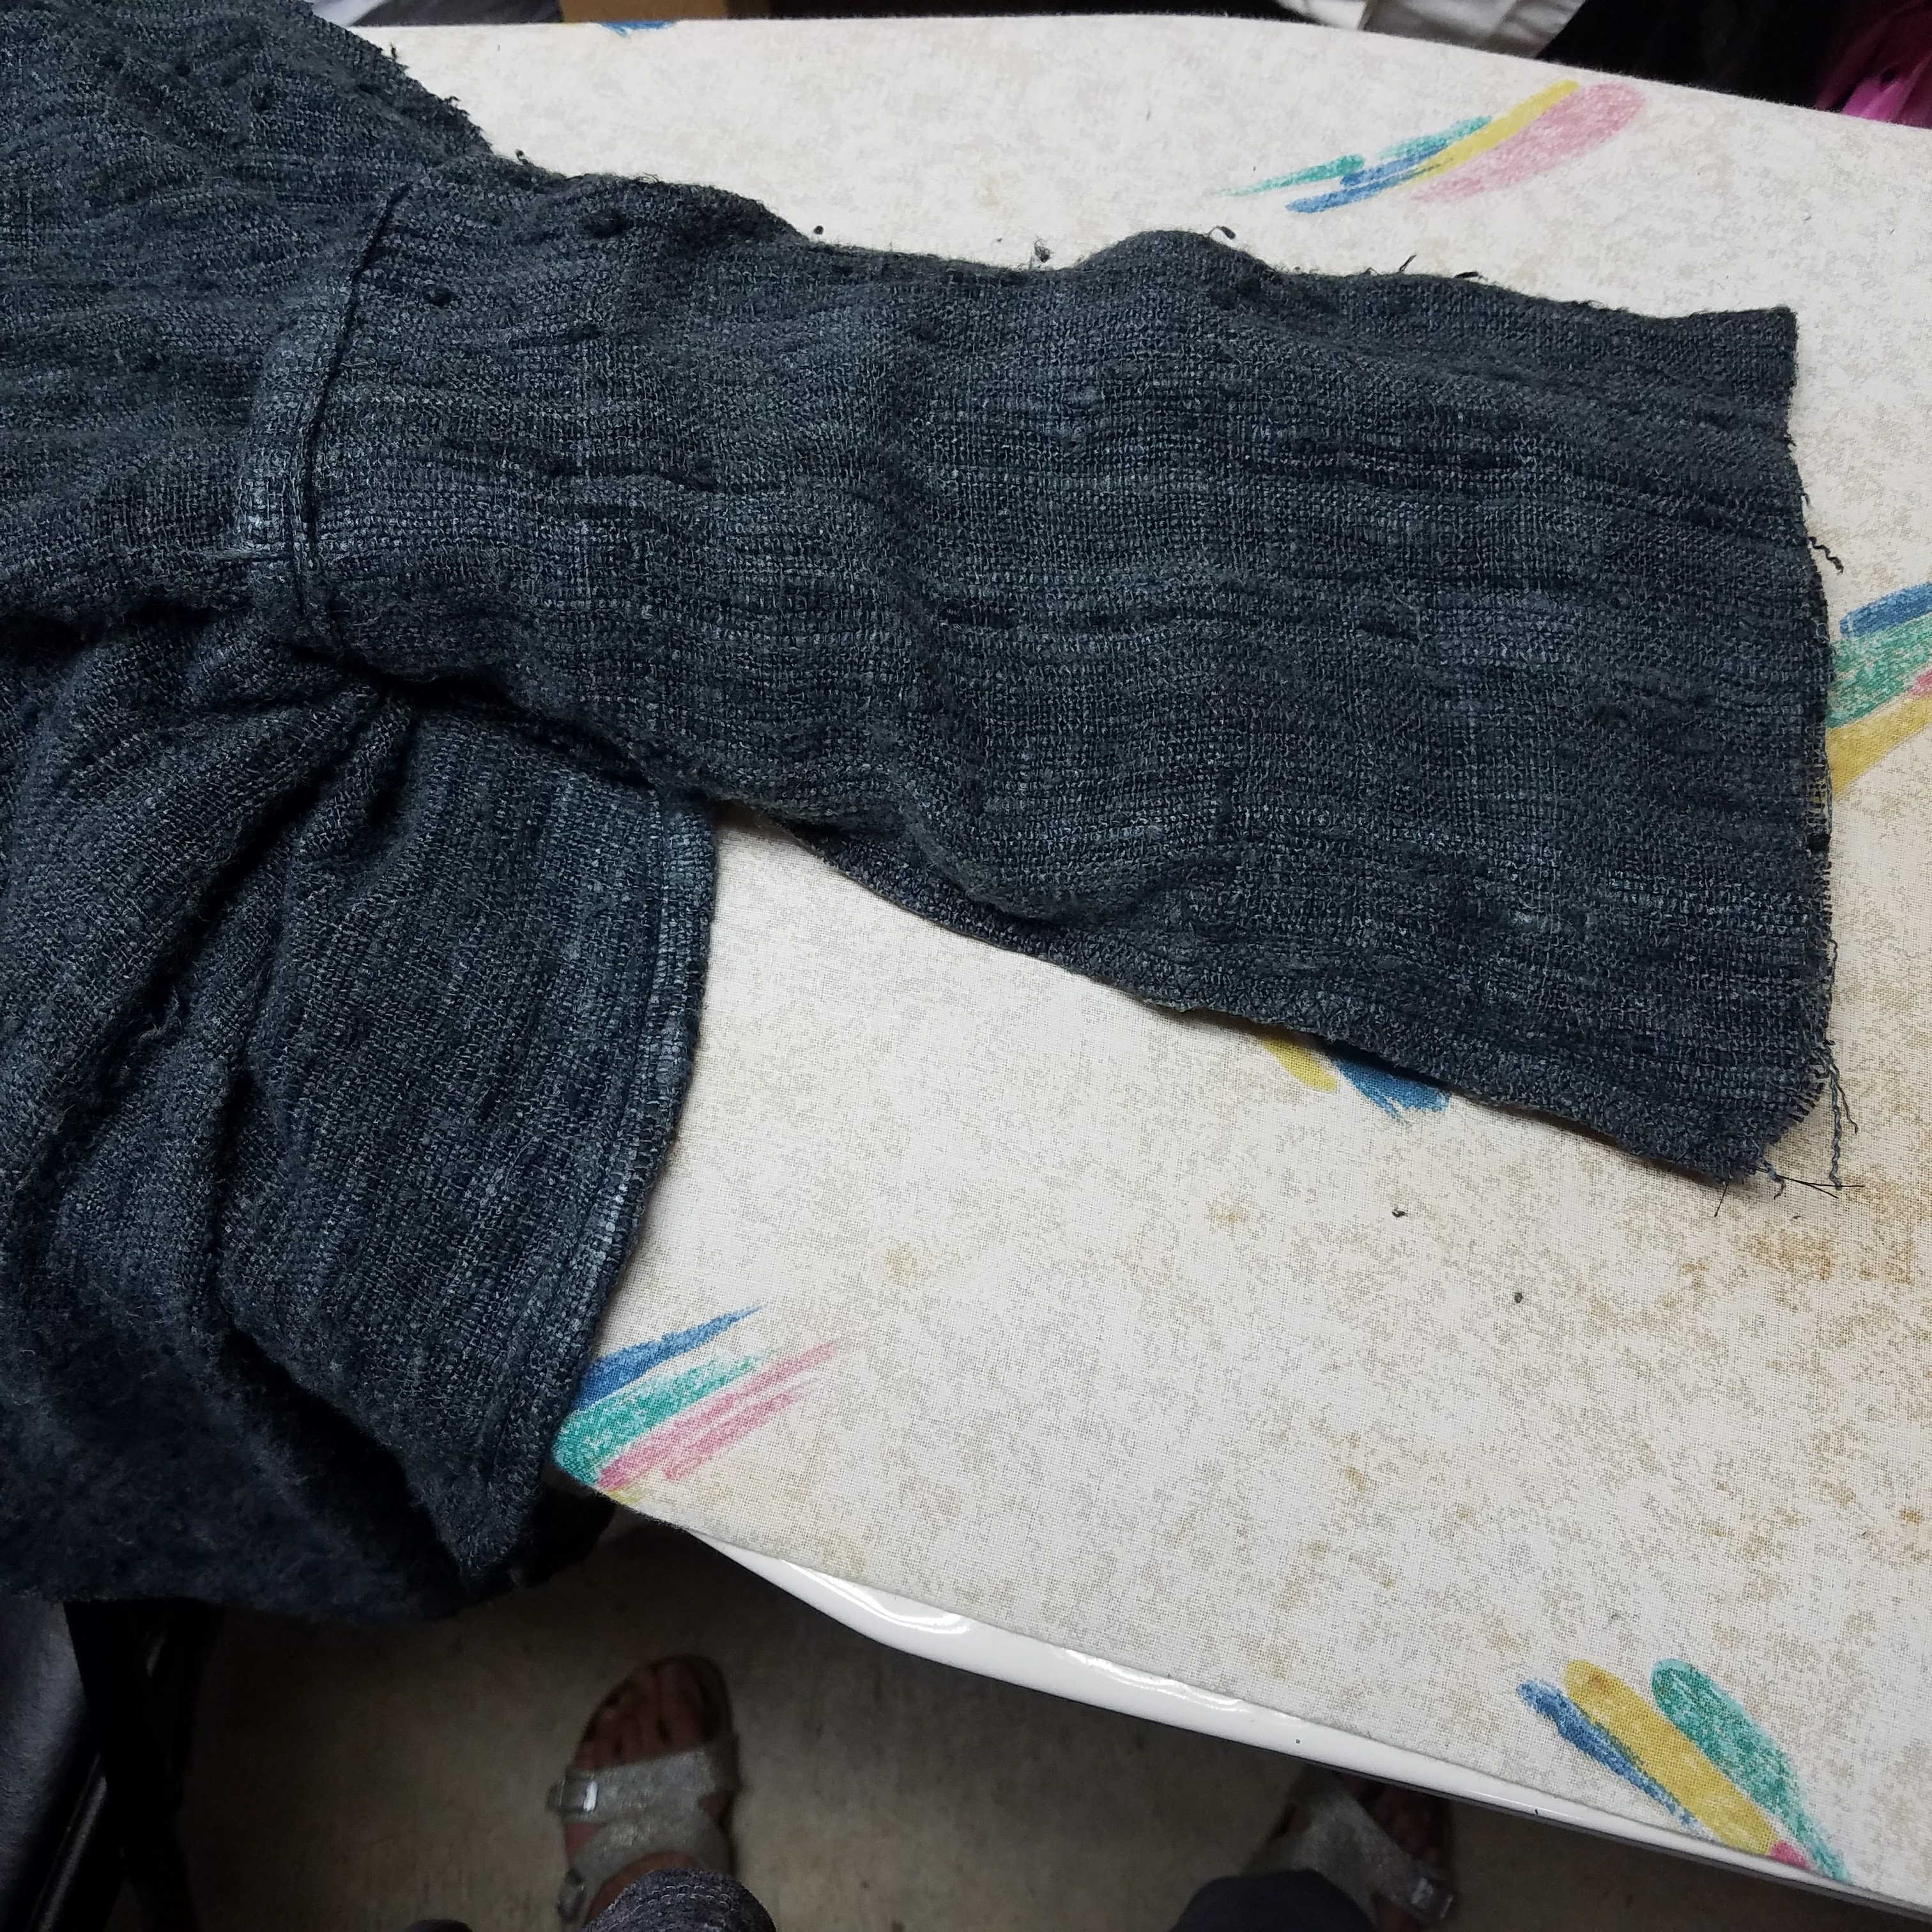
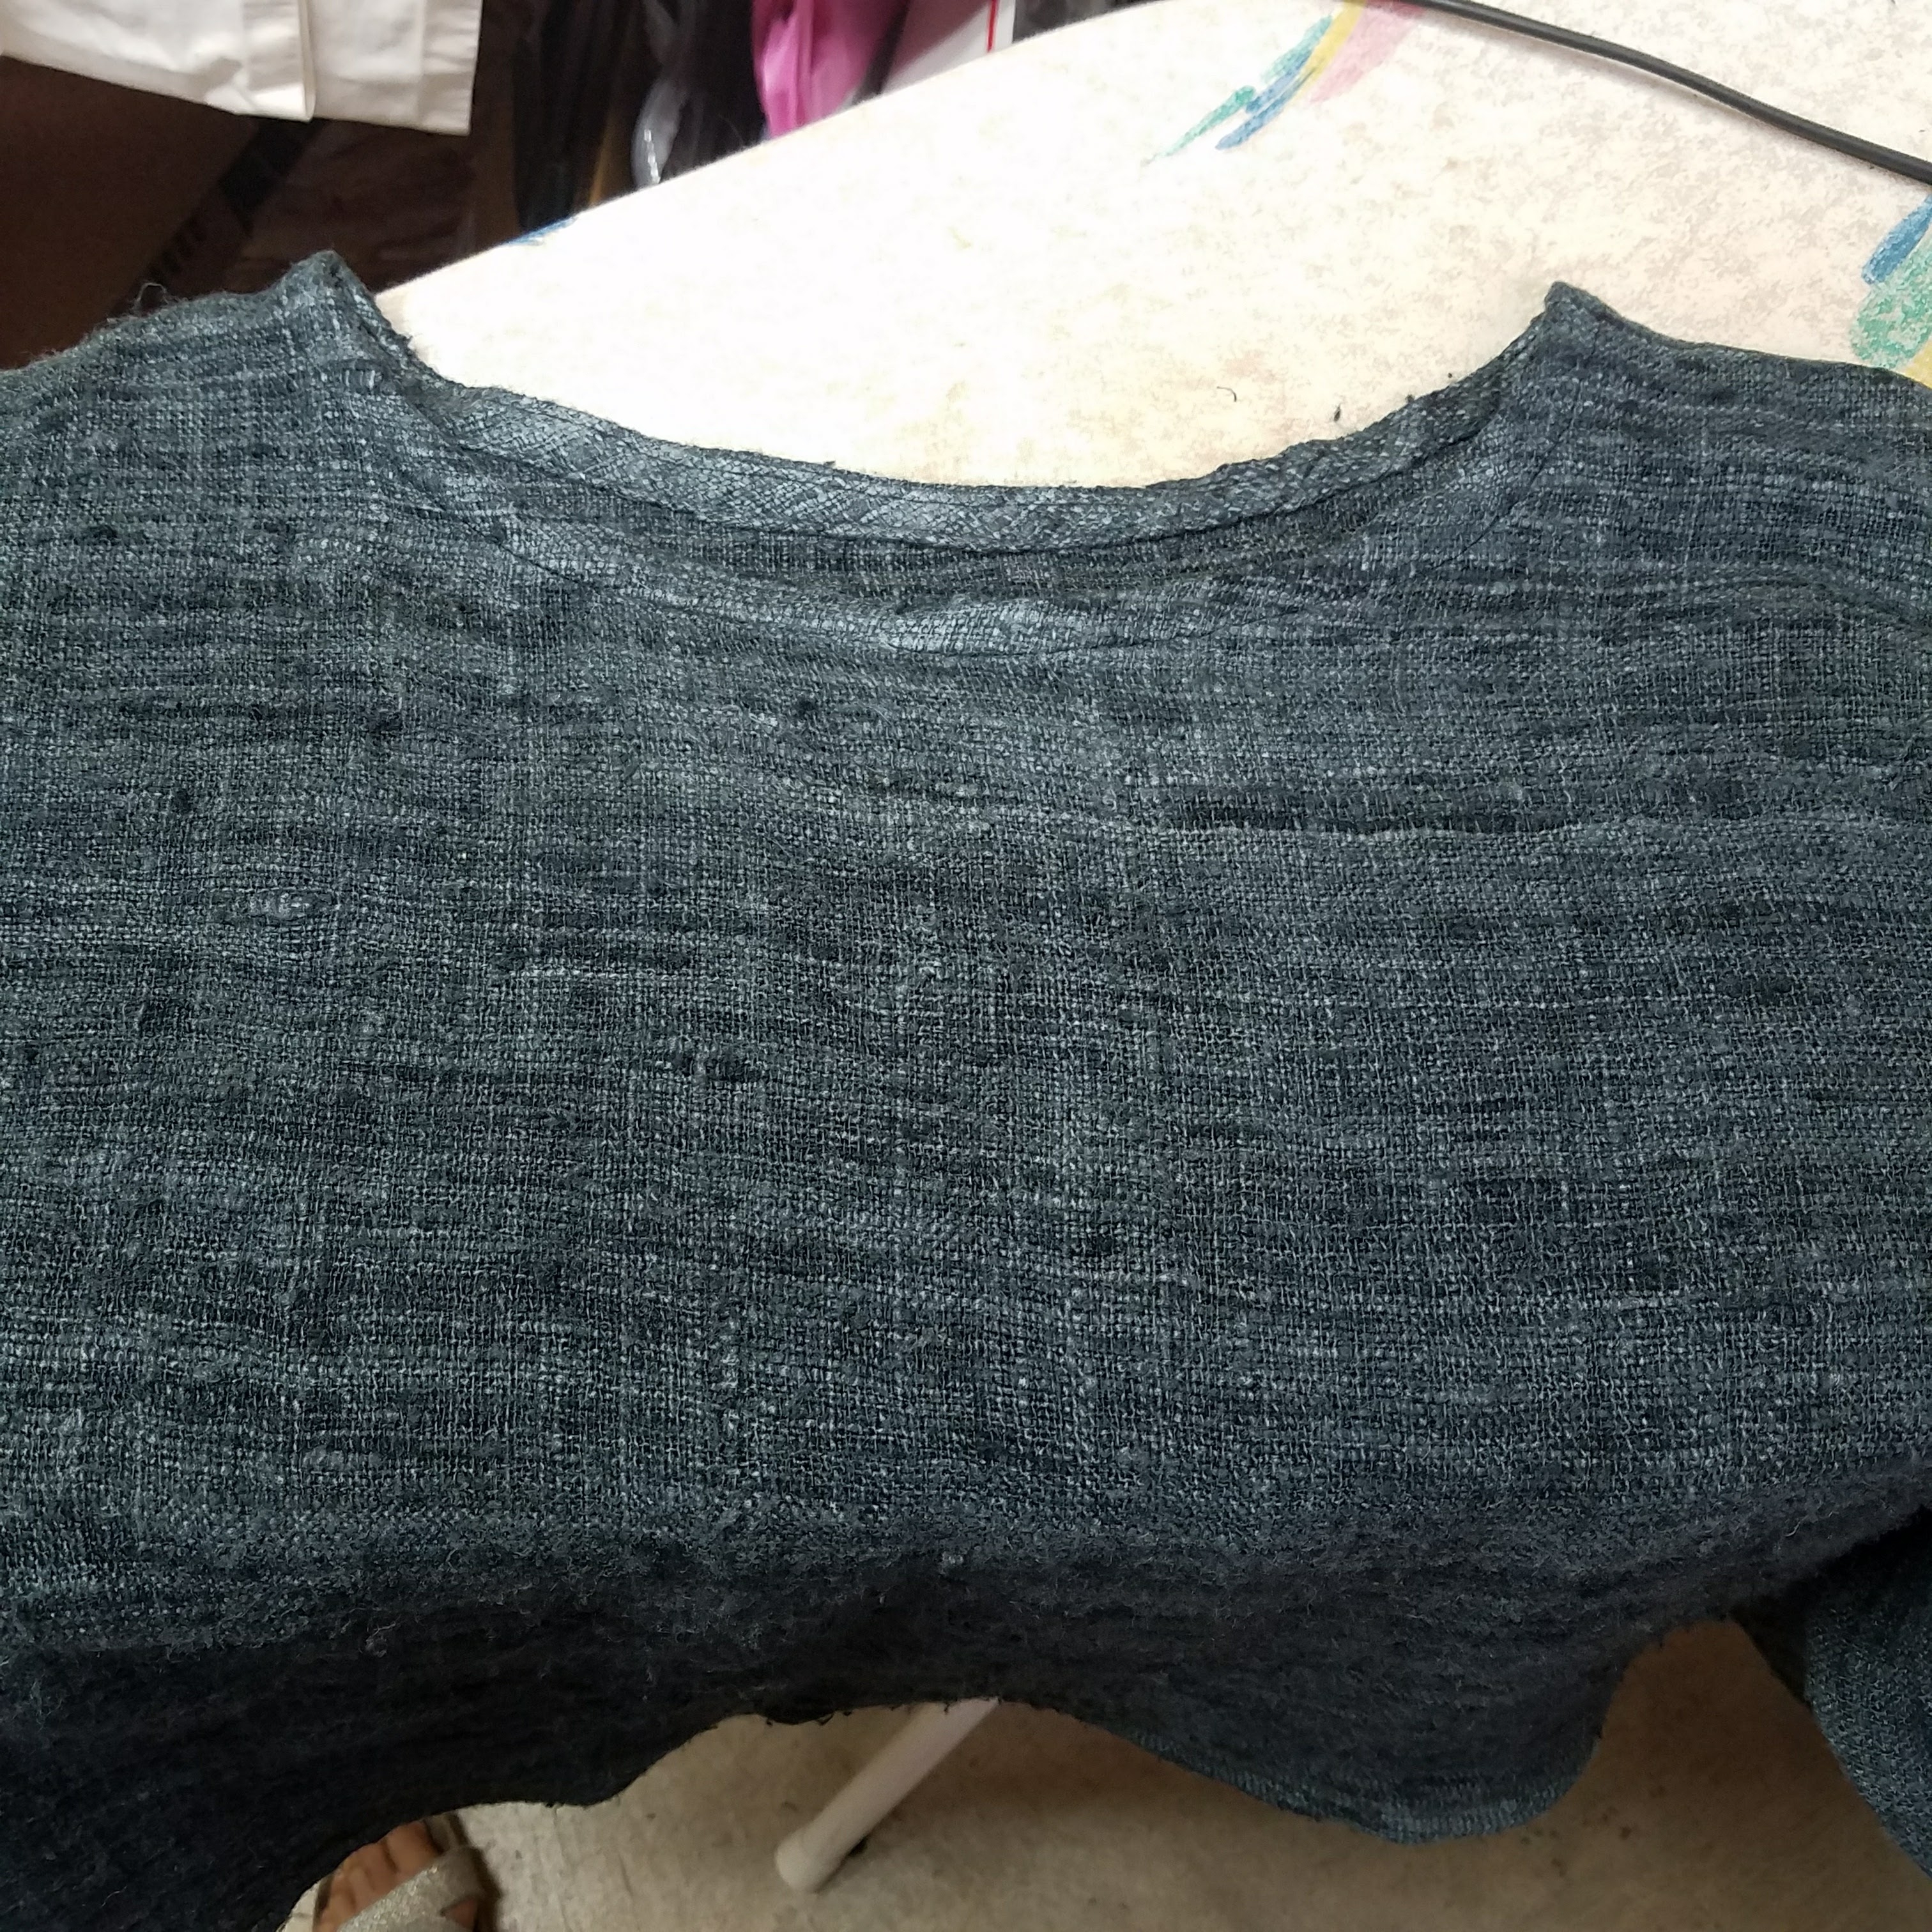
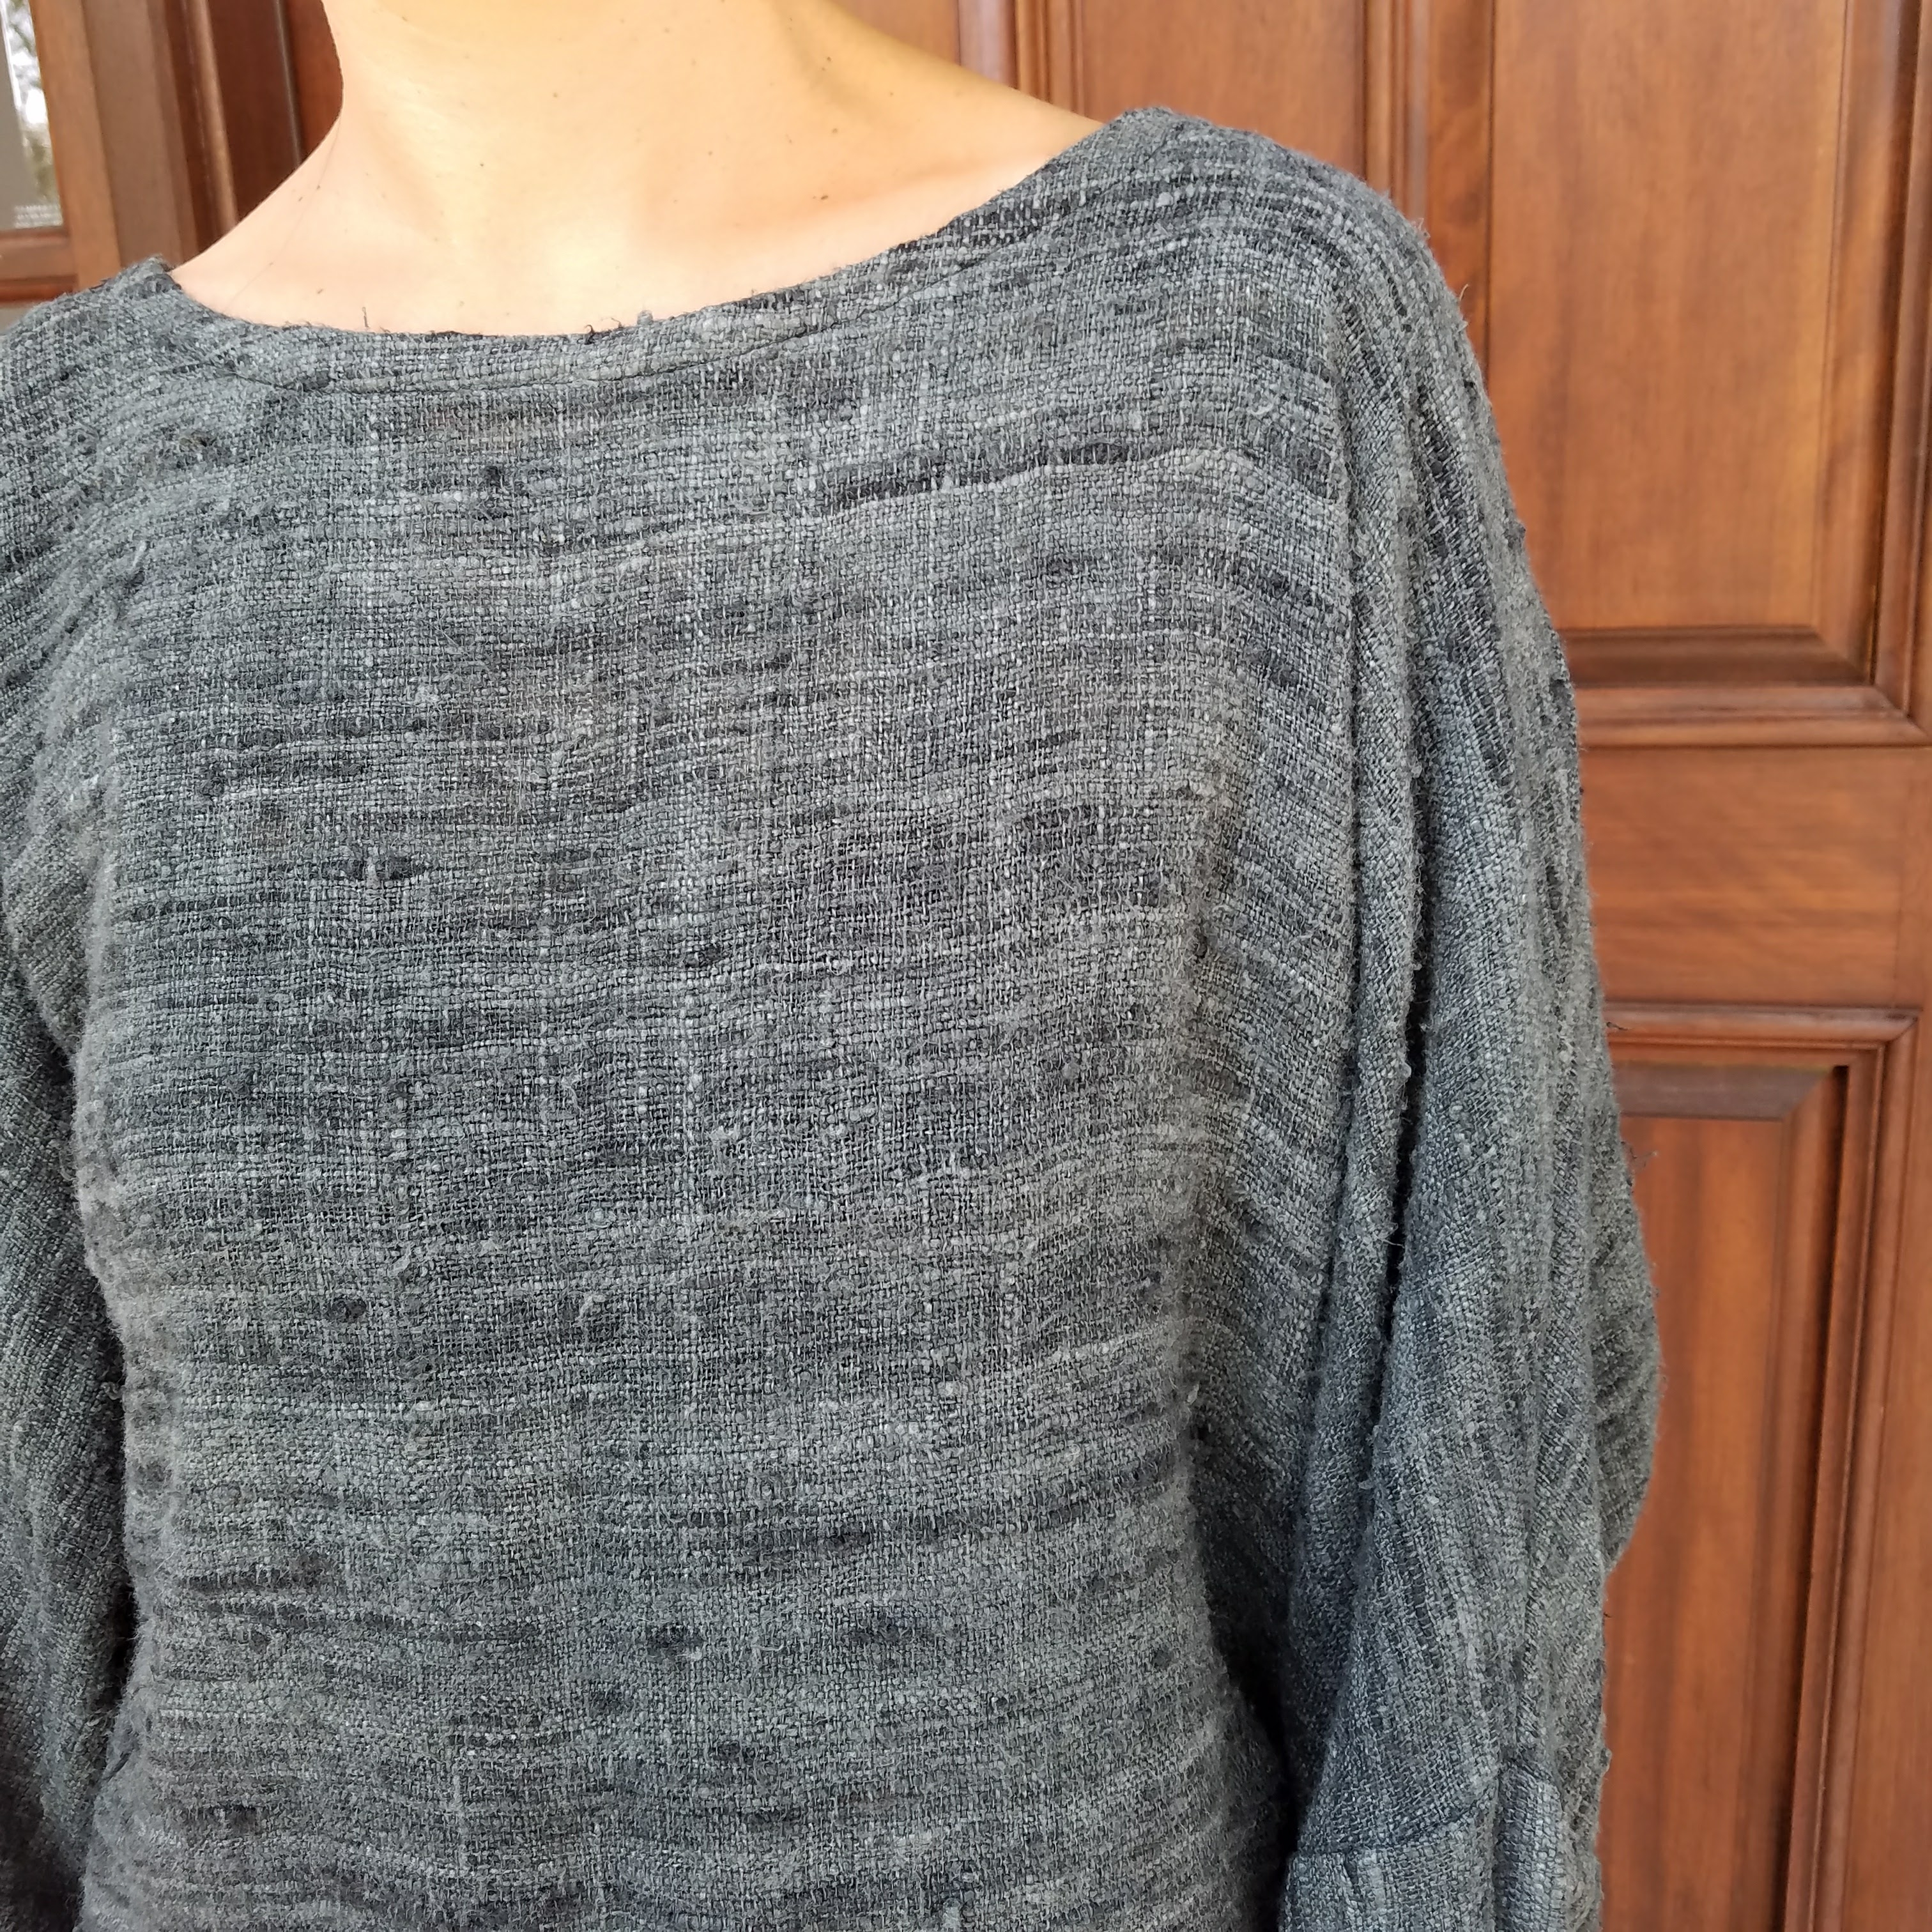
I know that description is a bit confusing. I took one more picture on my finished sweater so hopefully can see what I mean:
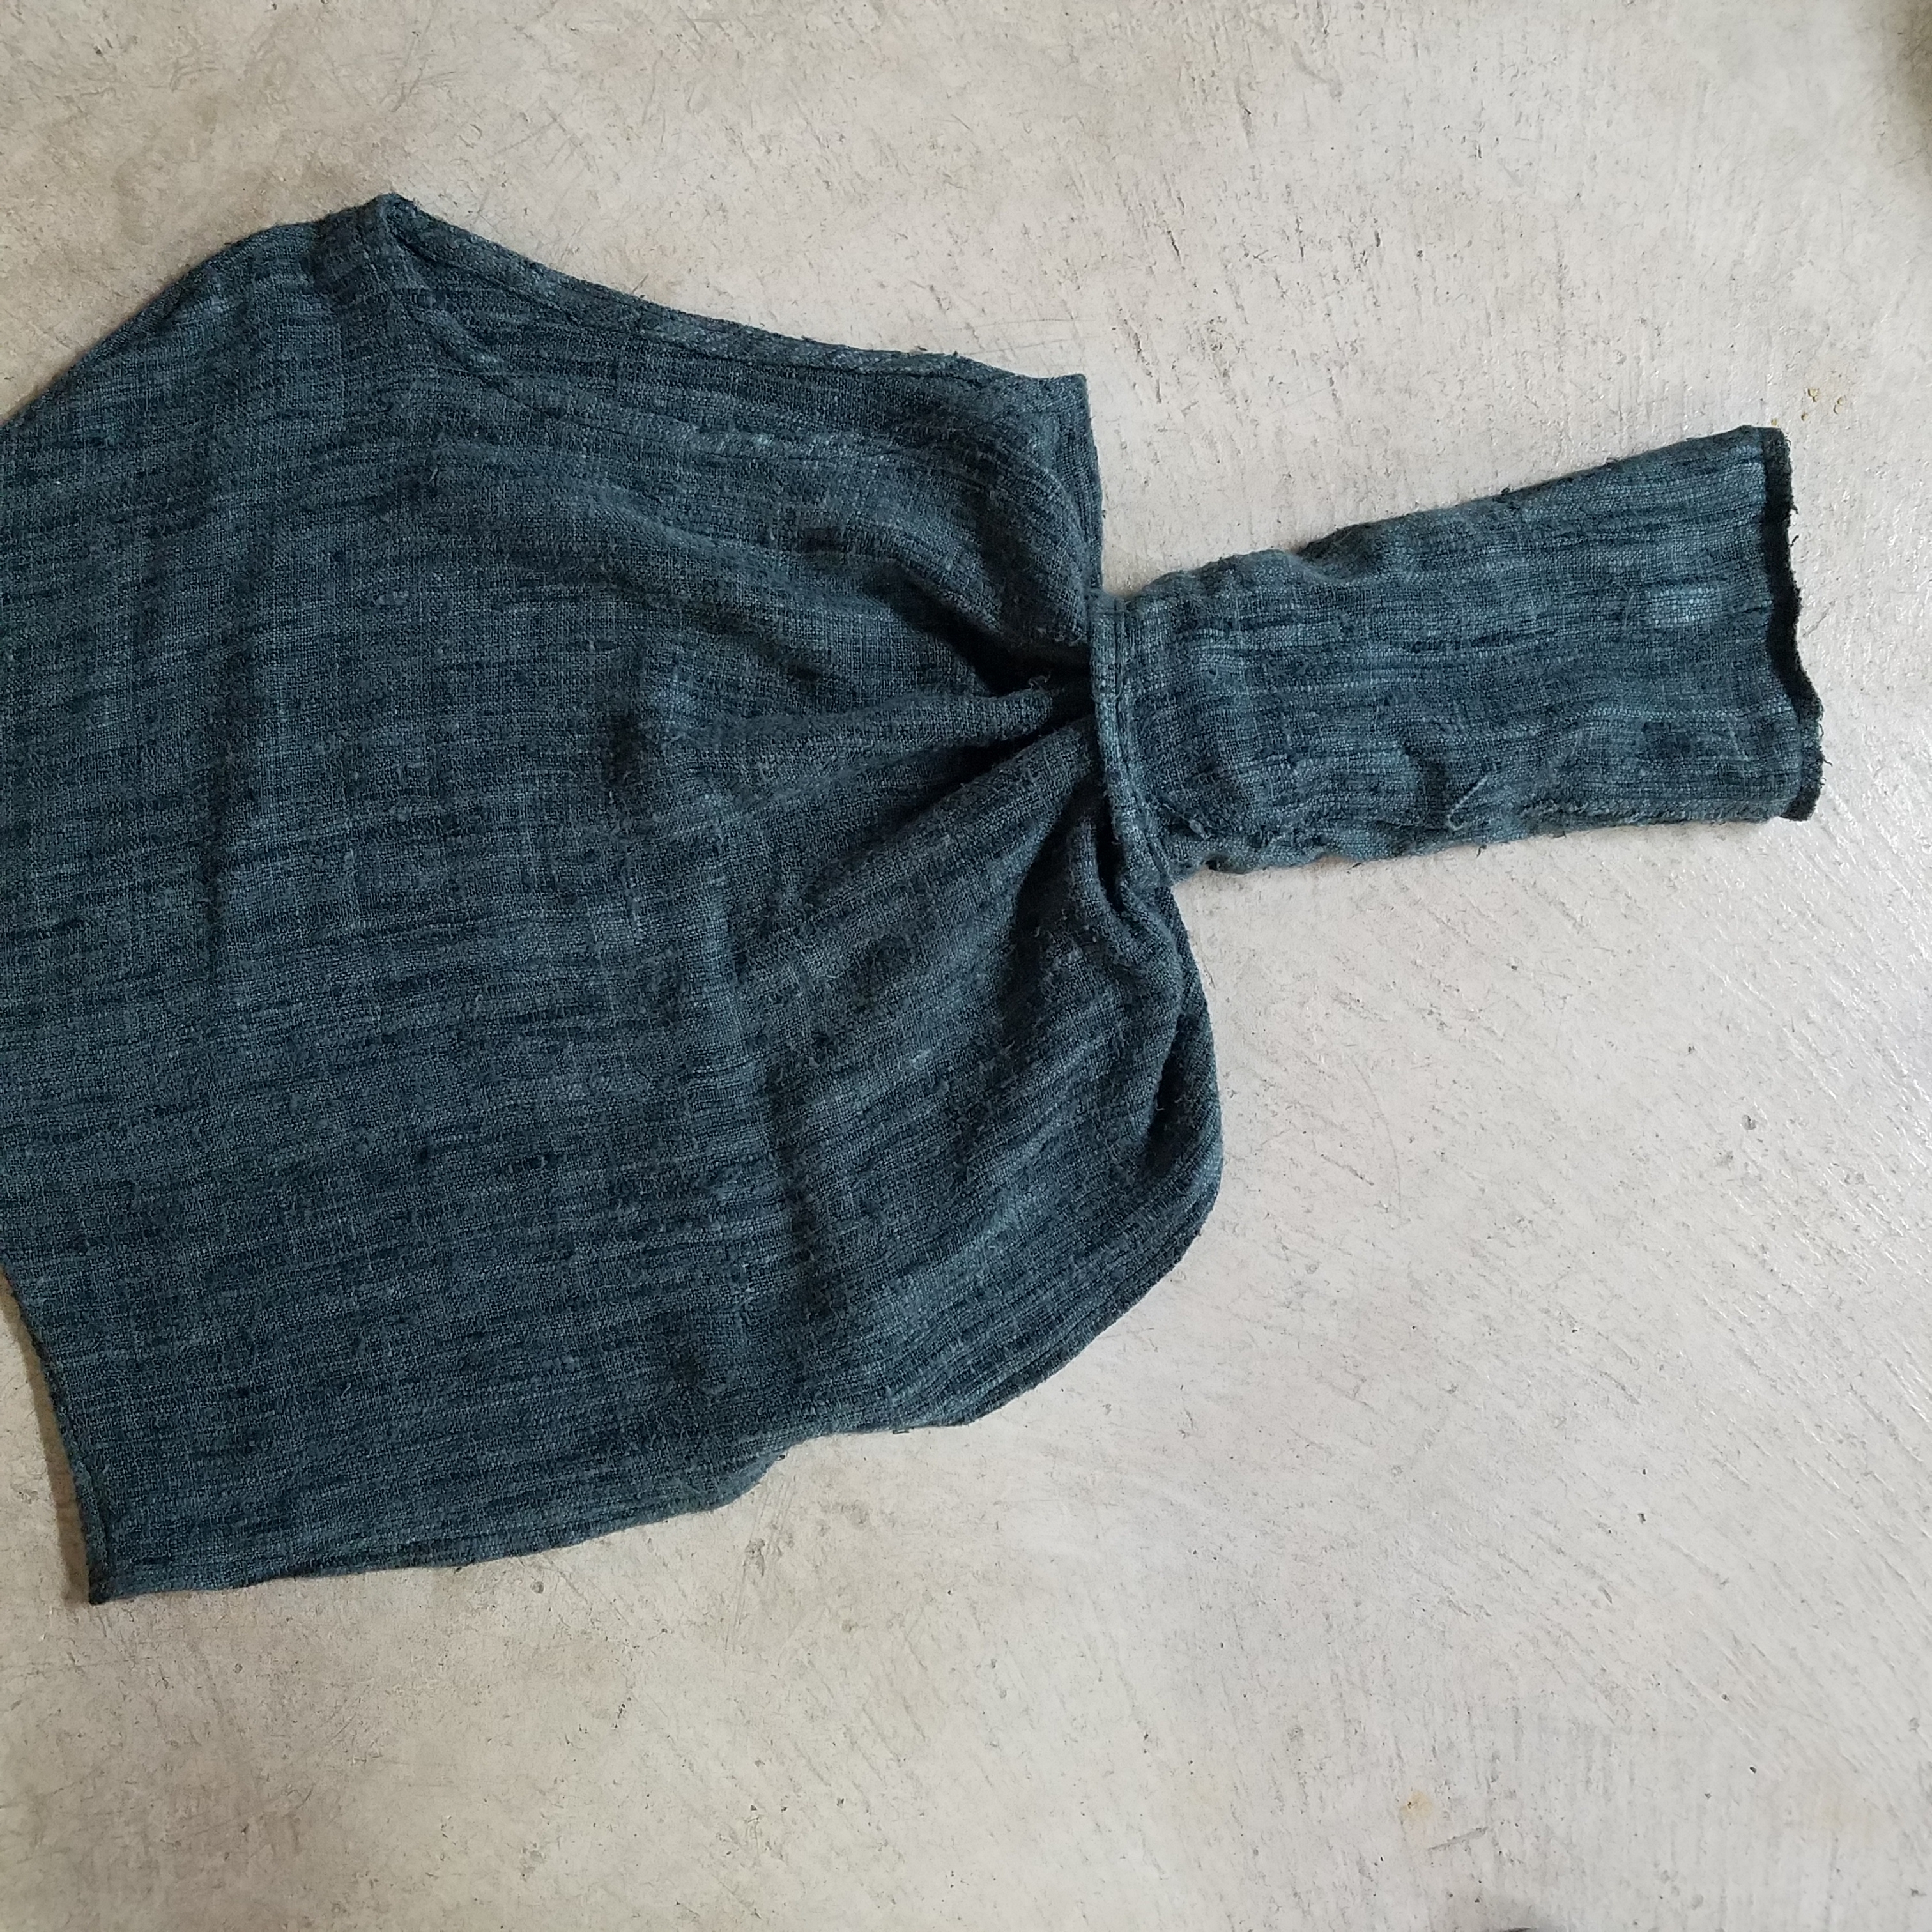
- Match up the edges of the armhole of the body, and the armhole of the sleeve. Also line it up so the side seam of the body lines up with the sleeve seam.
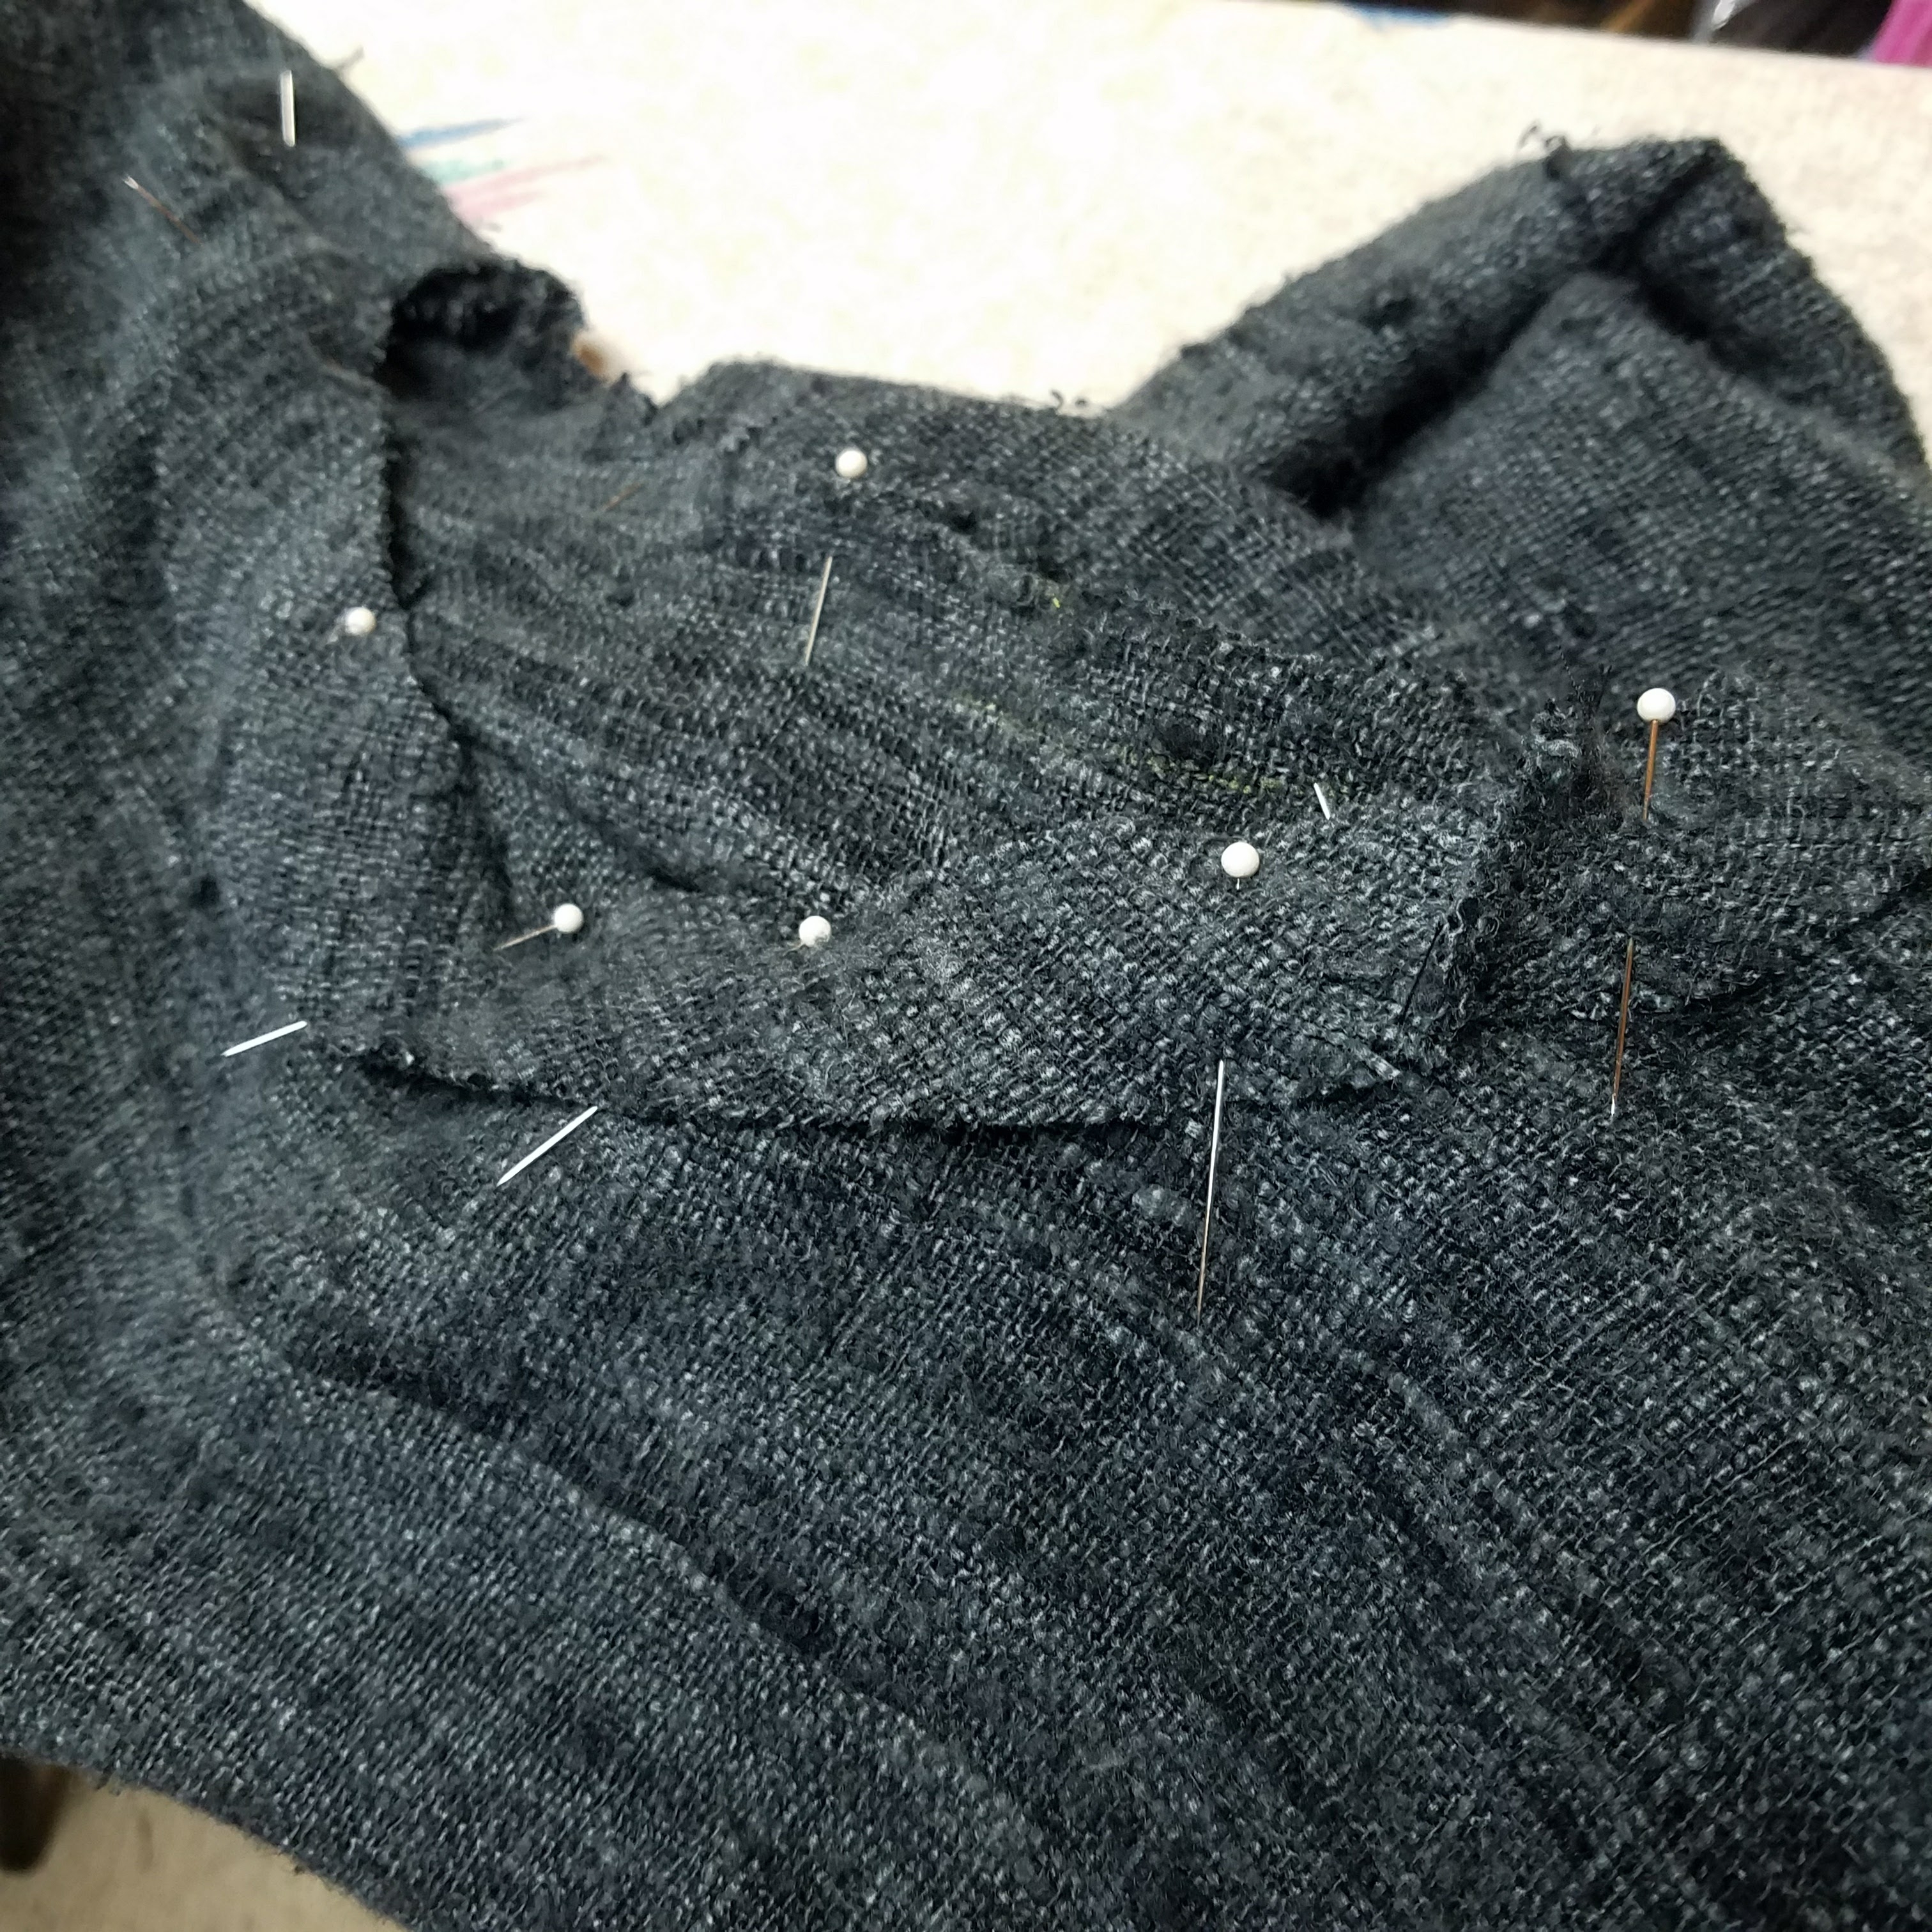
- Pin the seam at the armhole
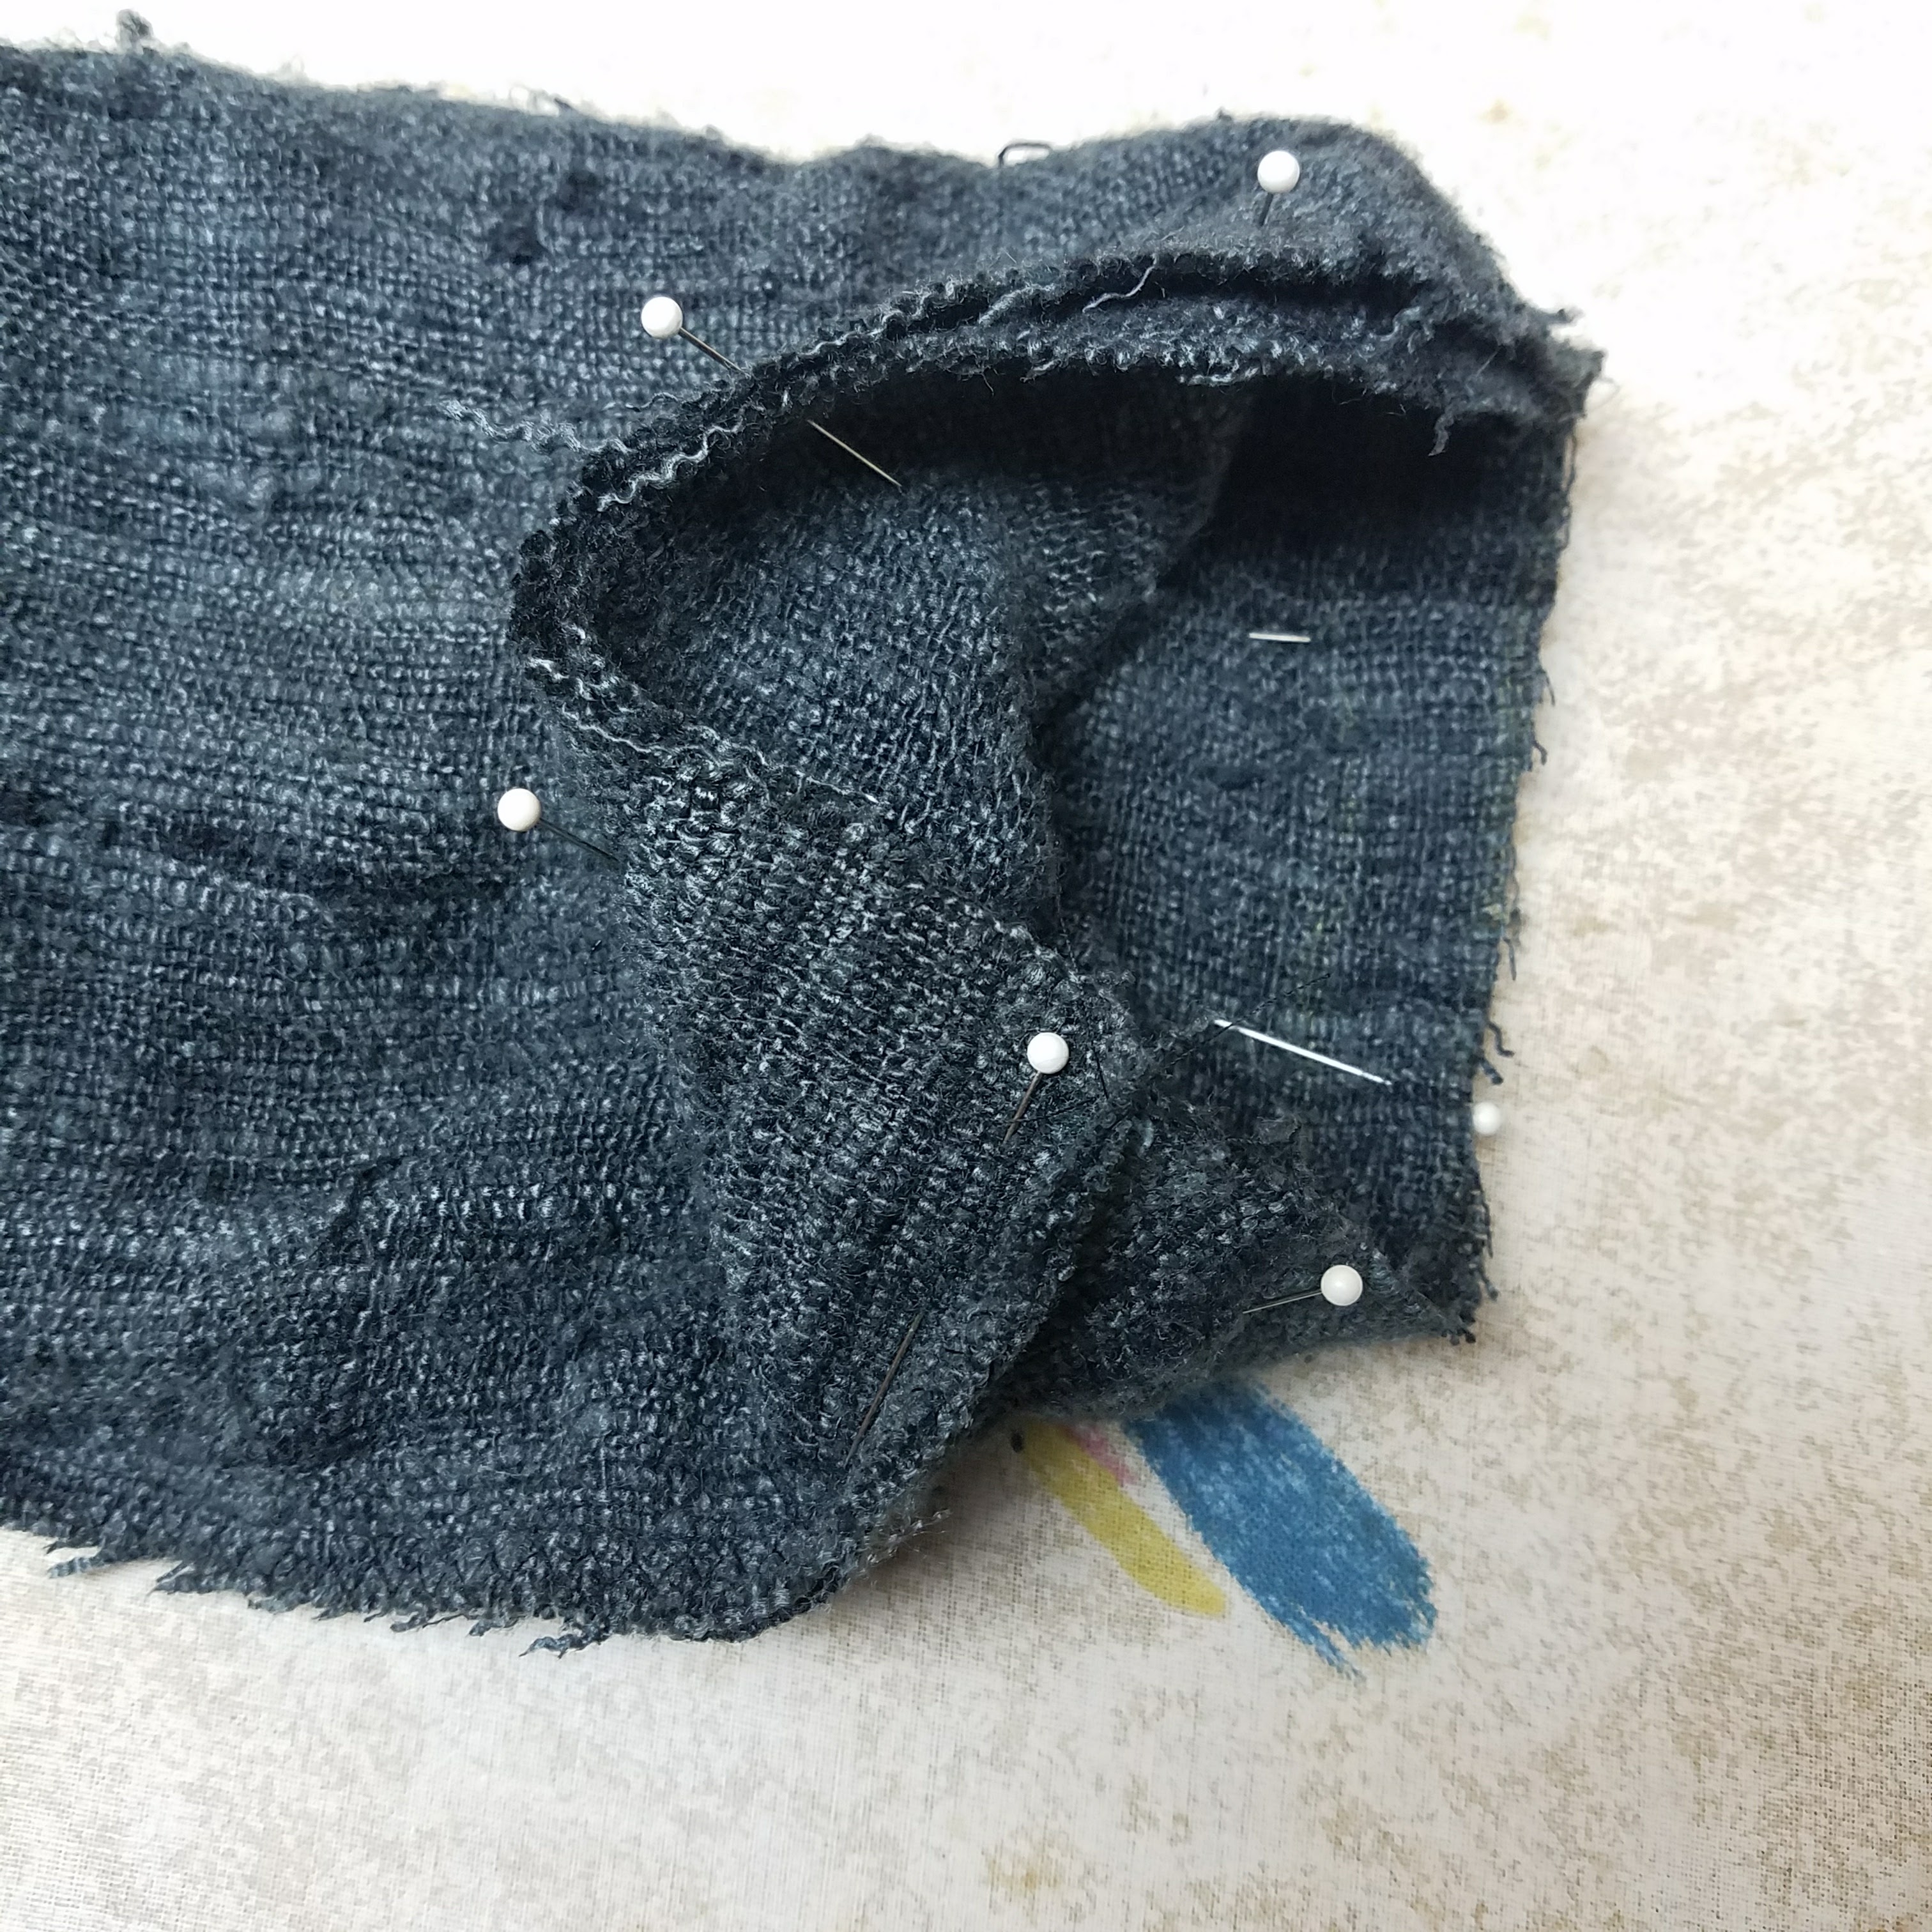
- Sew the seam
- Zig zag in the seam allowance
- Trim the excess seam allowance fabric
Try doing just one, then turn the sleeve right-side out and make sure everything looks the way you expect, then do the other sleeve.
Step 8: Make the bias binding and finish the neckline
So I decided to bite the bullet for this top and actually use a bias binding on the neckline. I followed this excellent tutorial from Grainline Studio. The only difference was that I made my binding 1 1/4″ because this fabric is so rough-spun.
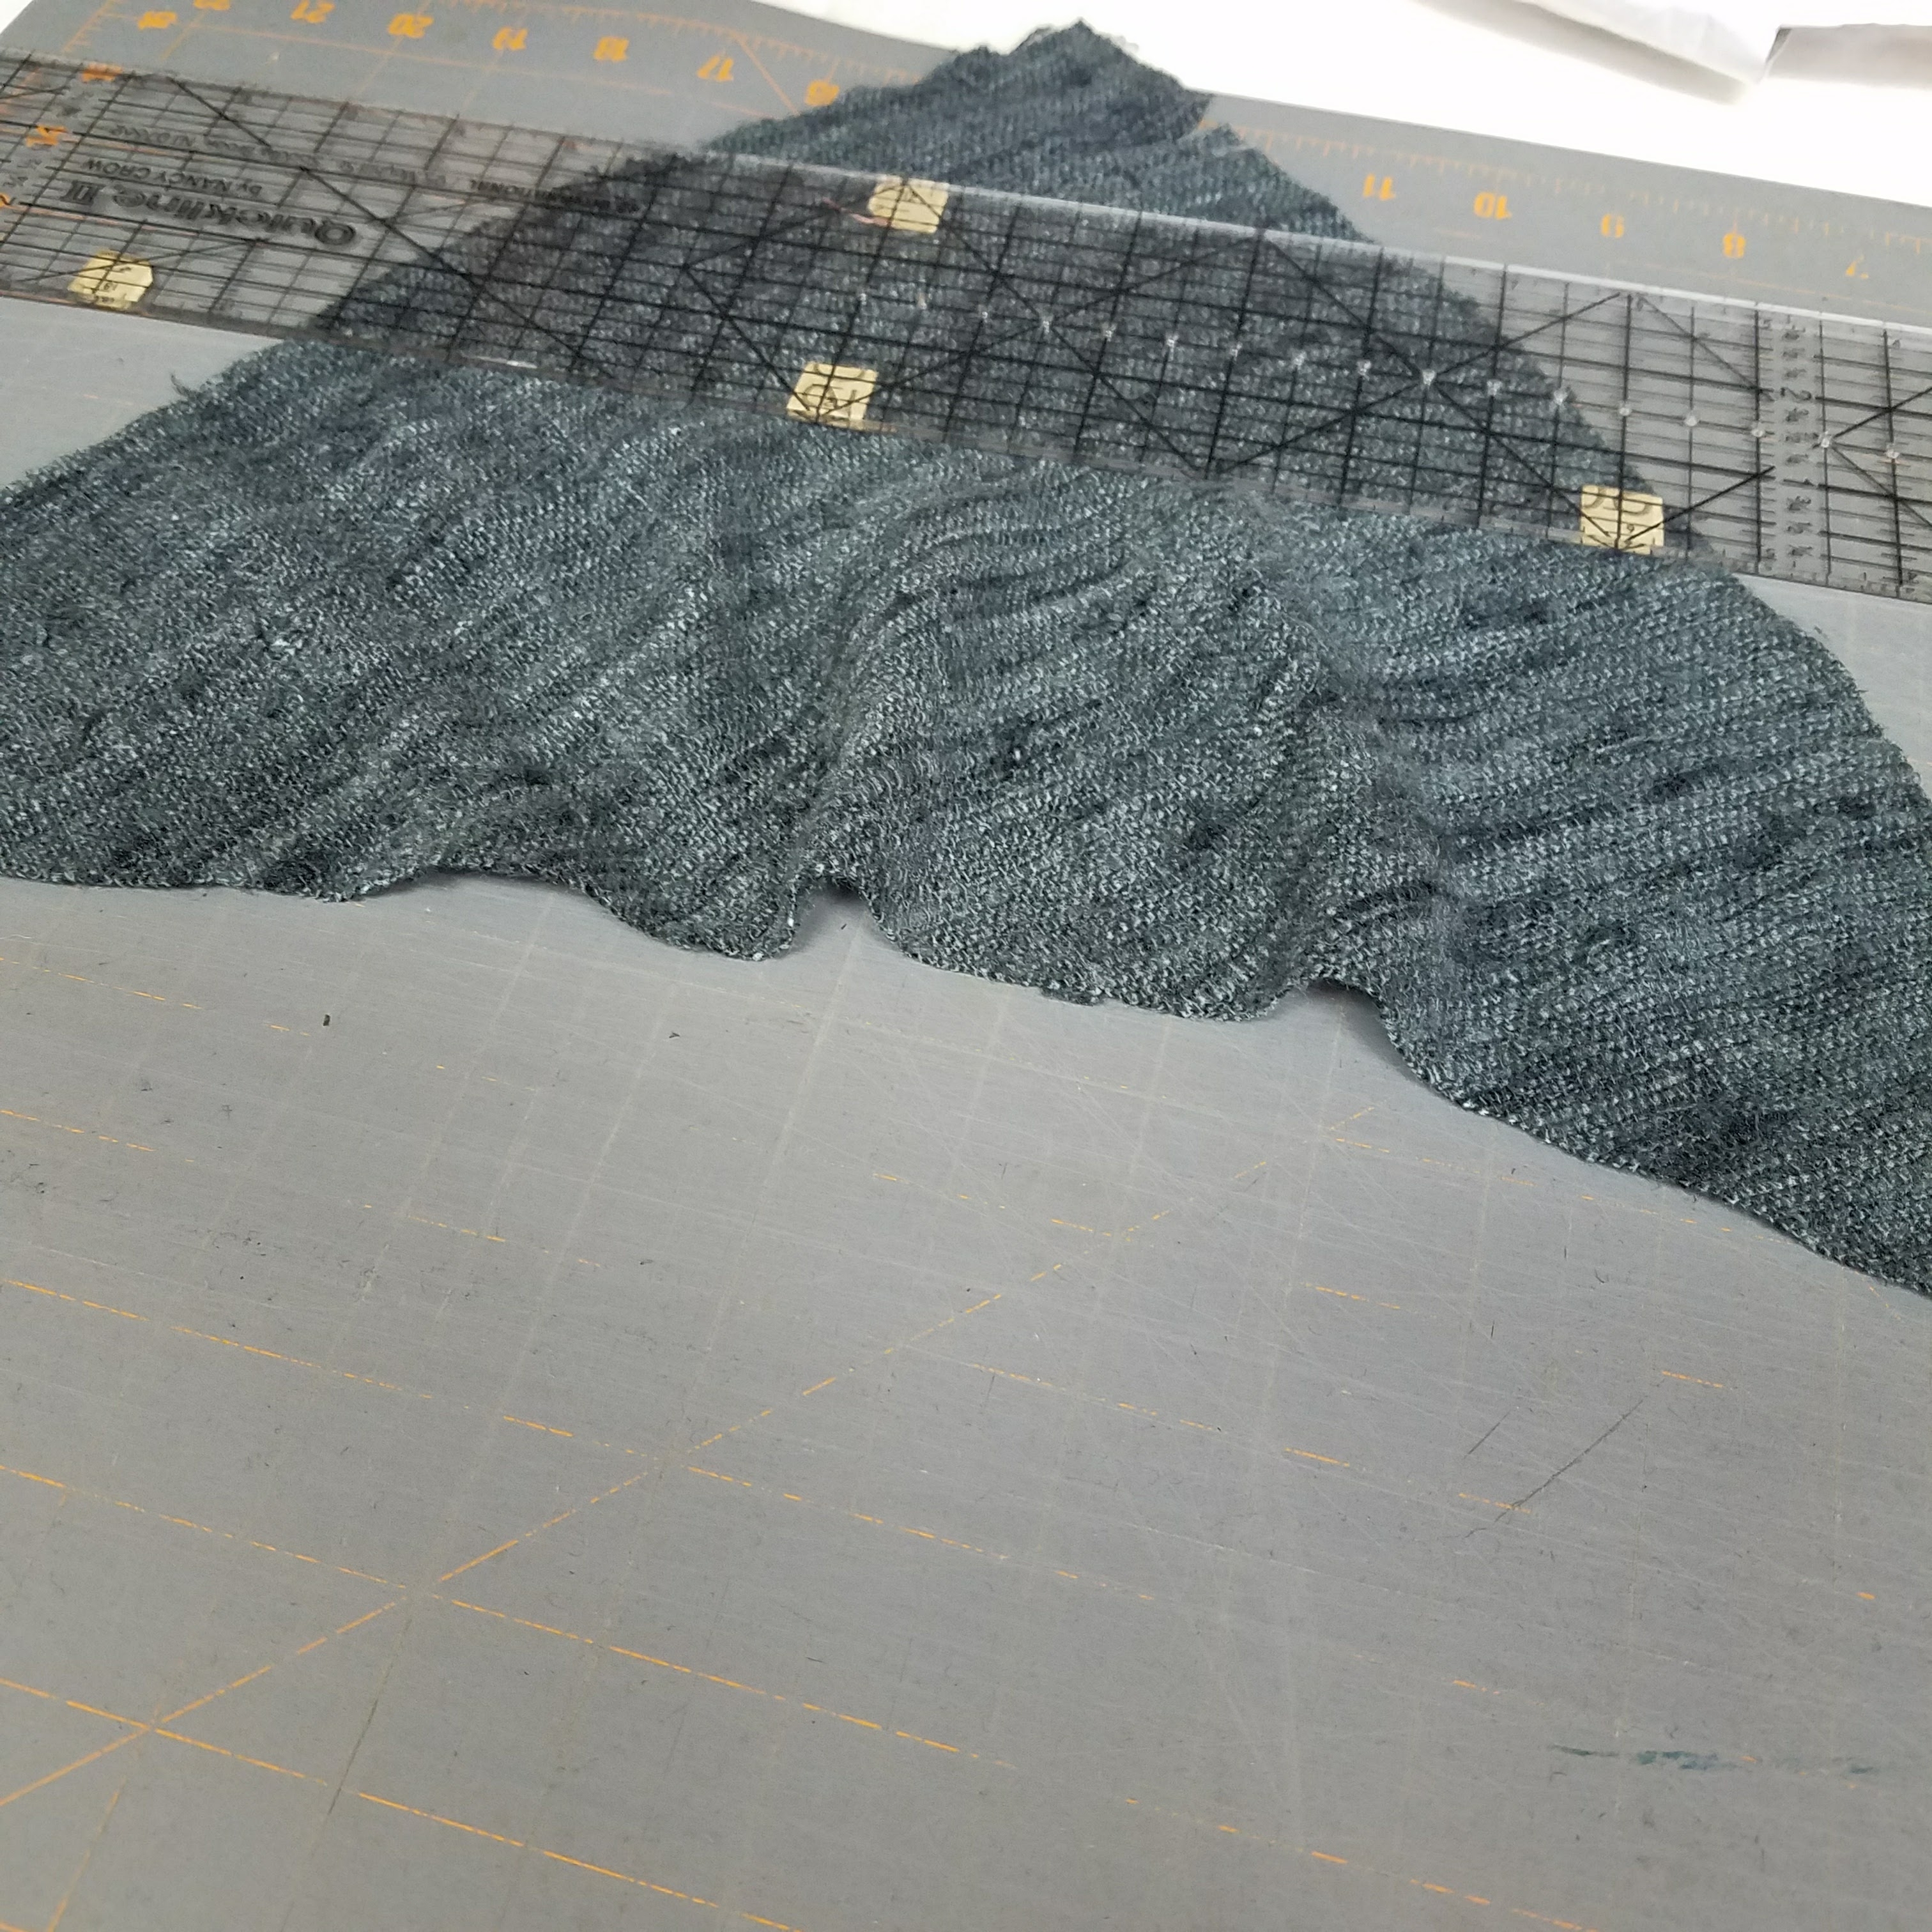
I took that square I saved from the original fabric cutting (marked “for bias binding” in the sketch in Step 3) and cut two strips right across the diagonal, each 1 1/4″ wide. I used my rotary cutter and clear ruler, but scissors would do just fine:
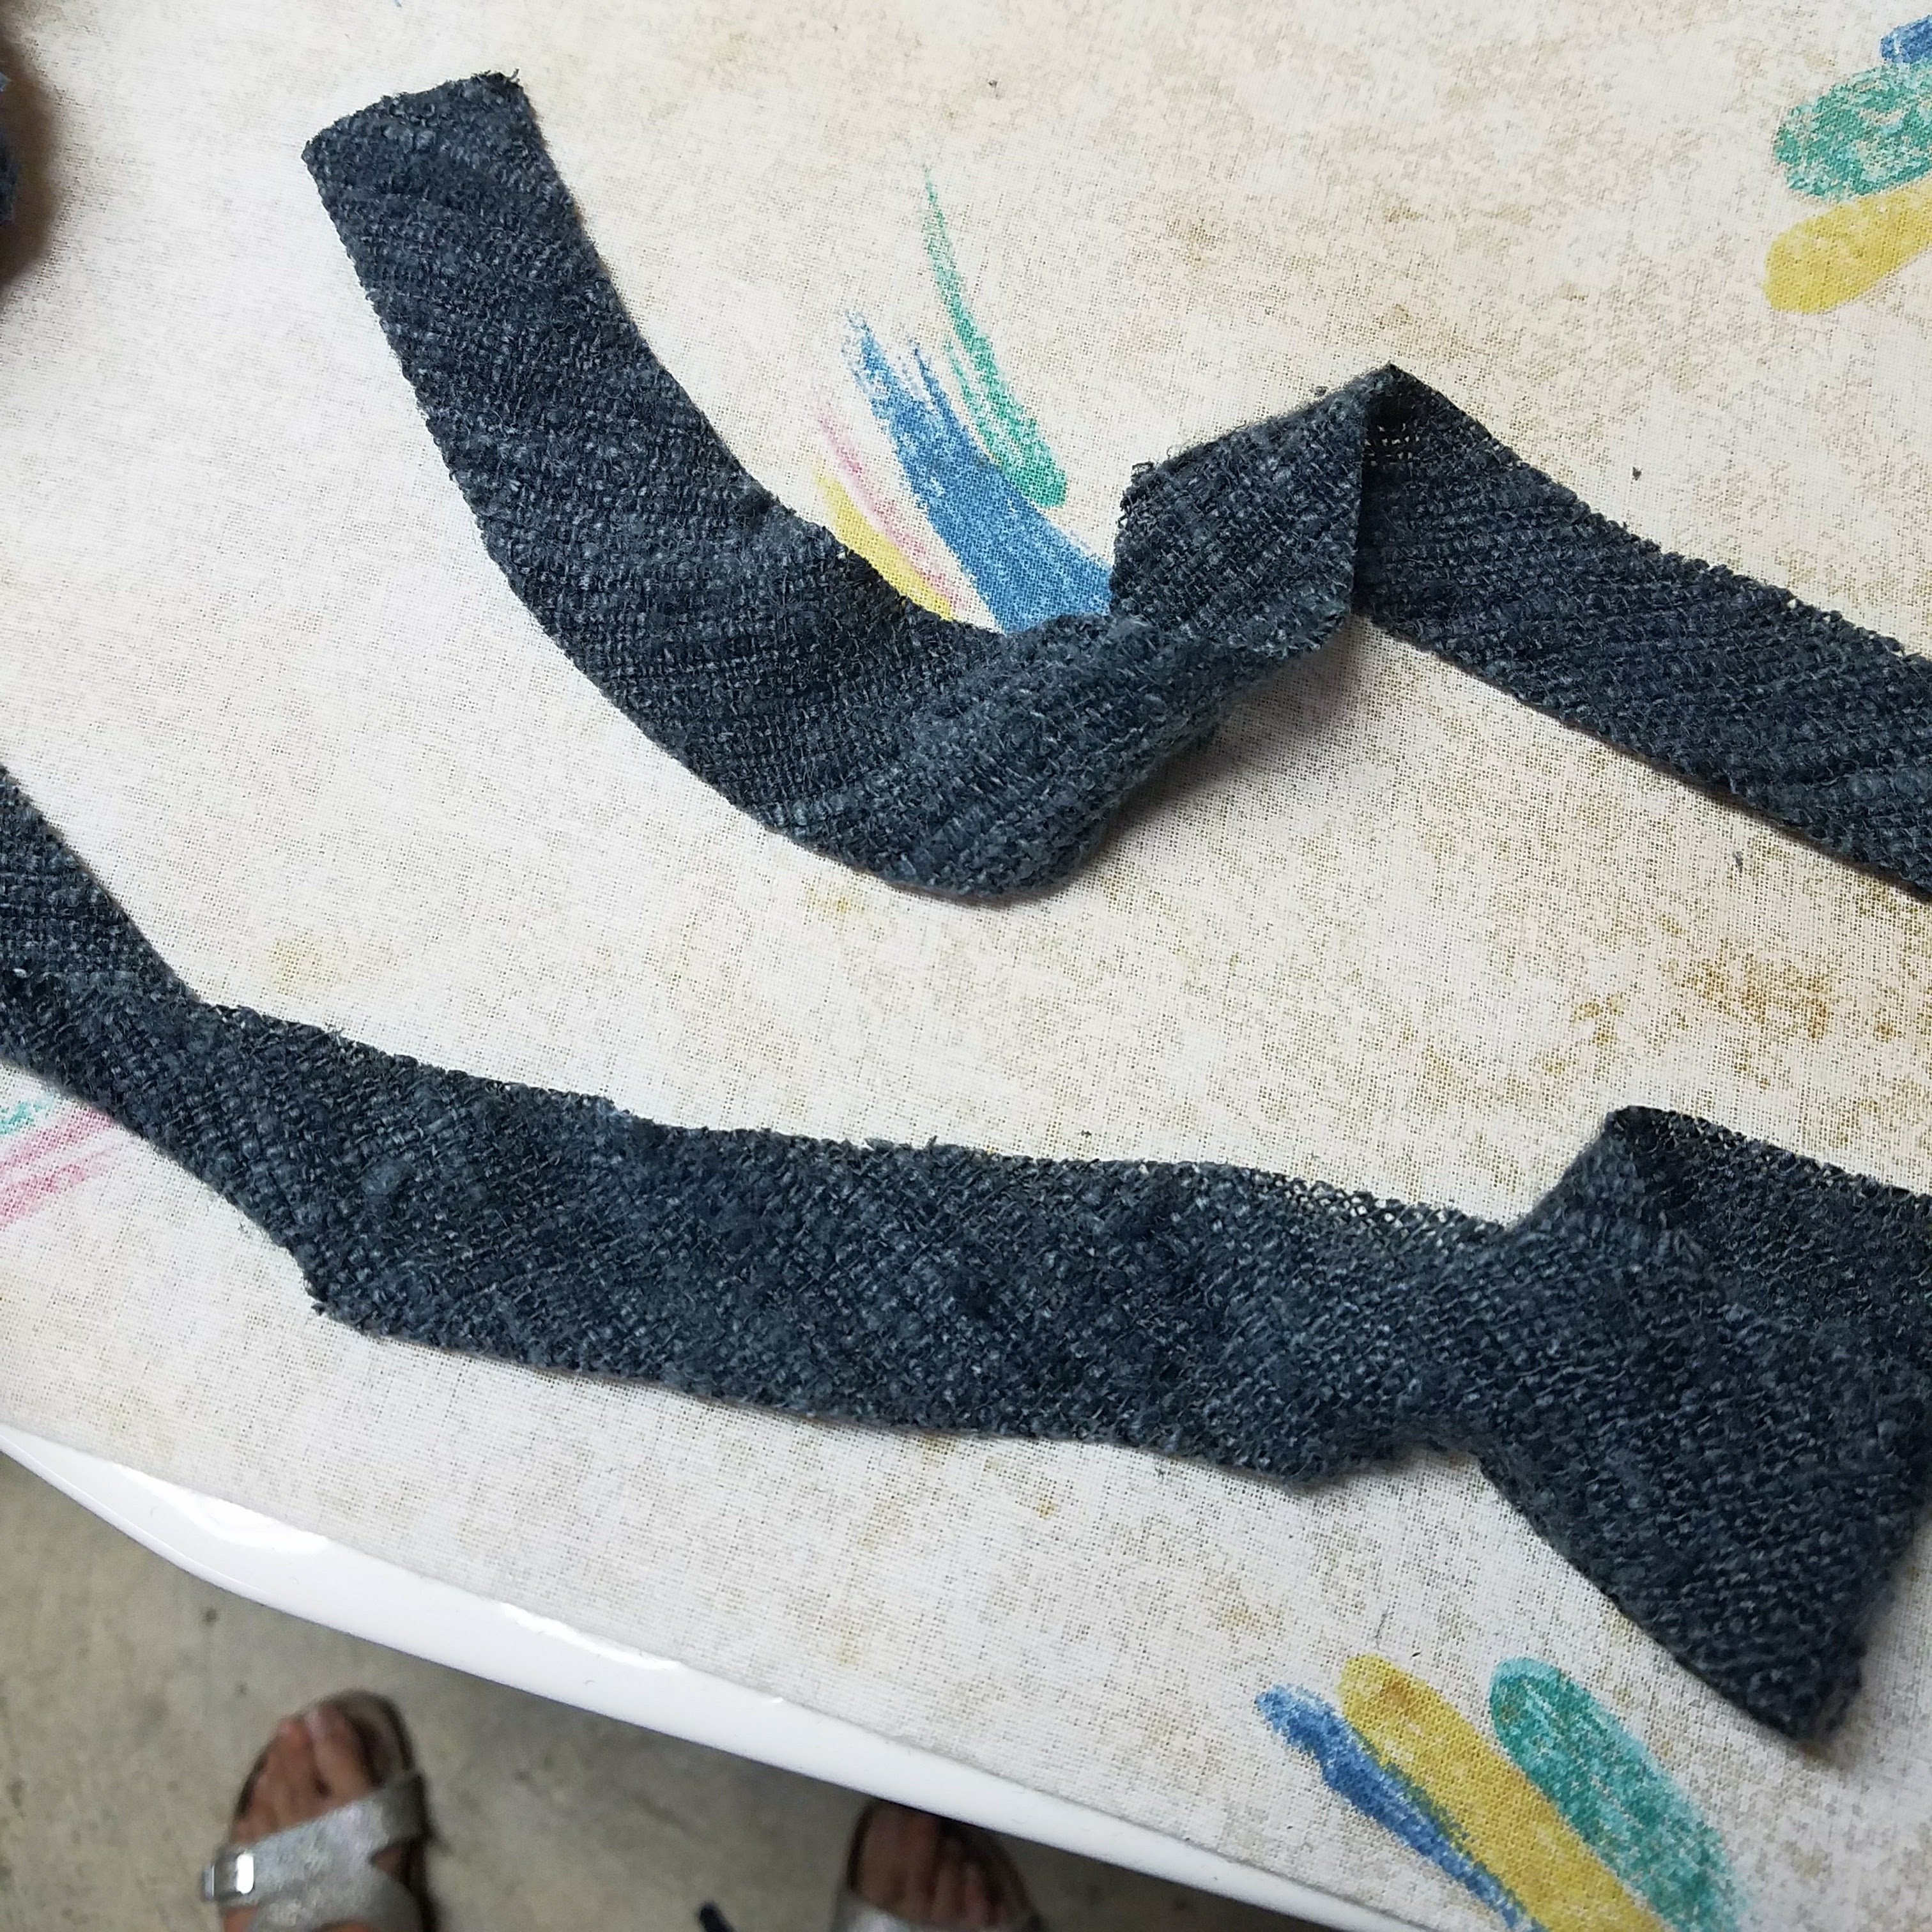
Then I sewed the two strips together and pinned the binding on the right side of the neckline.
I sewed the binding to the neckline, starting about 2 inches in from the end of the binding (leaving some extra length), and then ending about 4″ from where I had started sewing. Then I stopped sewing, cut the threads and figured out how long the binding needed to be to complete the neckline. I sewed the binding together at that length, cut off the extra binding, and then completed sewing around the neckline.
As per the bias binding tutorial, I pressed the binding up and then understitched around the neckline.
Finally, I double folded and pressed the binding on the wrong side and stitched all around.
I didn’t put a lot of pictures in this section because the Grainline Studio tutorial is so good. Just follow the directions there!
It wasn’t so hard and the results are totally worth it. No wavy neckline ![]()
Step 9: Try it on and enjoy your new top!
Pull that top on, roll up those sleeves and enjoy the slouchy, cozy comfort. Good luck with your top and please post pictures if you decide to make one!